Thinking of replacing your asphalt roof? Whether you’re facing wear and tear, storm damage, or it’s simply time for an upgrade, asphalt roofing remains one of the most popular choices for homeowners. This blog will walk you through everything you need to know about asphalt roof replacement, including materials, the replacement process, and tips to ensure a high-quality finish. Here’s what we’ll cover:
- How to know it’s time to replace your asphalt roof
- Steps to replace an asphalt roof
- Why asphalt shingles are popular for roof replacement
👉 How to Know It’s Time to Replace Your Asphalt Roof

Your roof is one of the most important parts of your home, protecting it from the elements and keeping your living space safe and secure. While asphalt roofs are known for their durability, even the best-maintained roof will eventually show signs of wear and tear. Ignoring these signs can lead to costly repairs or even structural damage to your home. Being proactive about roof replacement not only helps avoid potential problems but also ensures your home stays well-protected for years to come.
Signs You Need a Roof Replacement:
- Curling or Buckling Shingles: Shingles that are warped or buckling are less effective at protecting your home from leaks and damage.
- Missing Shingles: If multiple shingles are missing, it’s a clear sign your roof needs attention.
- Granule Loss: Check your gutters—if you’re seeing lots of granules, this means your shingles are deteriorating.
- Leaks or Water Damage: Water stains on your ceiling or walls could indicate a failing roof.
- Age of the Roof: Asphalt shingles are durable, but if your roof is over 20 years old, you may be due for a replacement.
✅ 7 Steps to Replace an Asphalt Roof

Replacing an asphalt roof may seem intimidating, but with the right guidance, it’s entirely manageable. Below are the essential steps you’ll follow.
1. Inspect and Prepare the Roof
The first step in any roofing project is to carefully inspect the existing roof for any signs of damage or structural issues. This includes looking for cracks, missing shingles, sagging areas, or water damage. Addressing these problems early ensures a strong foundation for the new roof. Next, remove the old shingles using a roofing shovel or specialized tools. This step is critical to create a clean and even surface. Once the old roofing material is removed, inspect the decking underneath for any signs of water damage or rot. If you find any compromised sections, replace them to avoid future issues. A solid, undamaged decking is essential for supporting the new roofing layers.
2. Install the Underlayment
With the roof prepared, the next step is to install the underlayment. This layer acts as a waterproof barrier to protect your home from moisture and leaks. Begin by rolling out a layer of roofing felt or synthetic underlayment across the entire surface of the roof. Make sure the material is laid evenly and overlaps between rolls to ensure full coverage. Once in place, secure the underlayment with roofing nails or staples, making sure it is firmly attached and won’t shift during the installation of other materials. This step provides an added layer of protection and helps extend the life of your roof.
3. Add Ice and Water Shield
To provide extra protection against leaks and ice dams, apply an ice and water shield to specific areas of the roof. This self-adhesive membrane is particularly important for areas prone to leaks, such as around roof valleys, edges, chimneys, and vents. Carefully cut the shield to fit these areas and ensure it adheres securely to the surface. This step is essential in colder climates where ice buildup can cause water to seep under the shingles and damage the roof. Properly installed, the ice and water shield will keep these vulnerable areas protected.
4. Install Drip Edge
Drip edge installation is a crucial step to prevent water infiltration and protect the edges of your roof. The drip edge is a metal strip that is secured along the perimeter of the roof. Begin at the edges and install the drip edge by nailing it down, ensuring it extends slightly beyond the roofline. This directs water away from the fascia and into the gutters, reducing the risk of water damage to your home’s structure. Proper installation of the drip edge prevents water from seeping into areas it shouldn’t, ensuring your roof and home stay dry.

5. Lay the Shingles
Start laying shingles at the bottom edge of the roof and work your way upward. This approach ensures proper water runoff and provides a solid structure for layering. Lay the shingles in a staggered pattern, slightly offsetting each row from the one below. This method not only enhances coverage but also improves the roof’s stability by minimizing weak points. Follow the manufacturer’s guidelines for spacing and nailing to ensure the shingles are securely fastened. Properly installed shingles provide long-lasting protection and add to the overall aesthetic of the roof.
6. Add Ridge Cap Shingles
To complete the roof and seal its peak, install ridge cap shingles along the top ridge. Ridge cap shingles are designed to protect the roof’s highest point from water infiltration and provide a polished, finished appearance. Align the ridge cap shingles carefully and secure them with nails, overlapping each piece to ensure full coverage. This step not only enhances the roof’s durability but also gives it a professional, clean look that complements the overall design.
7. Clean Up
Once the roofing installation is complete, take the time to clean up the worksite thoroughly. Remove all leftover debris, including old shingles, nails, and packaging materials. Check the roof and surrounding areas for any loose nails or discarded materials that could cause damage or injury. Pay special attention to the gutters, as they may have collected debris during the roofing process. Clear out any fallen leaves, shingles, or nails to ensure proper drainage. A clean worksite ensures safety and leaves your home looking tidy and well-maintained after the project is finished.
🤔 Why Asphalt Shingles Are Popular for Roof Replacement

When it comes to roofing, asphalt shingles are America’s go-to option. Why? Because they strike the perfect balance between affordability, durability, and style.
Affordable
Asphalt shingles are one of the most cost-effective roofing options on the market, making them ideal for homeowners who want quality without overspending. They provide excellent value compared to pricier materials like metal, slate, or tile, while still delivering reliable performance. For homeowners on a budget, asphalt shingles offer a practical solution that balances affordability with durability. Plus, their lower cost doesn’t mean you have to sacrifice appearance, as they come in a variety of styles to suit different tastes.
Durable
When properly maintained, asphalt shingles can last an impressive 20–30 years, making them a long-term investment for your home. Routine care, such as regular inspections, cleaning, and addressing minor issues promptly, can significantly extend their lifespan. High-quality asphalt shingles are designed to resist wear and tear, meaning they can stand up to the elements while maintaining their structural integrity. With the right upkeep, your asphalt shingle roof will protect your home reliably for decades, saving you money on costly replacements down the line.
Versatile
One of the biggest advantages of asphalt shingles is their incredible versatility. They come in a wide variety of colors, textures, and styles, allowing homeowners to find the perfect match for their home’s exterior. Whether you’re aiming for a traditional, rustic, or modern aesthetic, there’s an option to fit your vision. From subtle earth tones to bold, eye-catching shades, asphalt shingles can enhance your home’s curb appeal and complement its architectural design. This flexibility makes them a popular choice for homes of all styles and sizes.
Weather-Resistant
Modern asphalt shingles are engineered to endure a wide range of weather conditions, making them a reliable choice for homeowners in different climates. They offer excellent protection against heavy rain, high winds, and even hail, ensuring your roof can withstand severe storms. Additionally, asphalt shingles are designed to resist UV damage from prolonged sun exposure, helping them maintain their color and structural integrity over time. Their durability in adverse weather conditions provides peace of mind, knowing your home is well-protected year-round, regardless of the forecast.
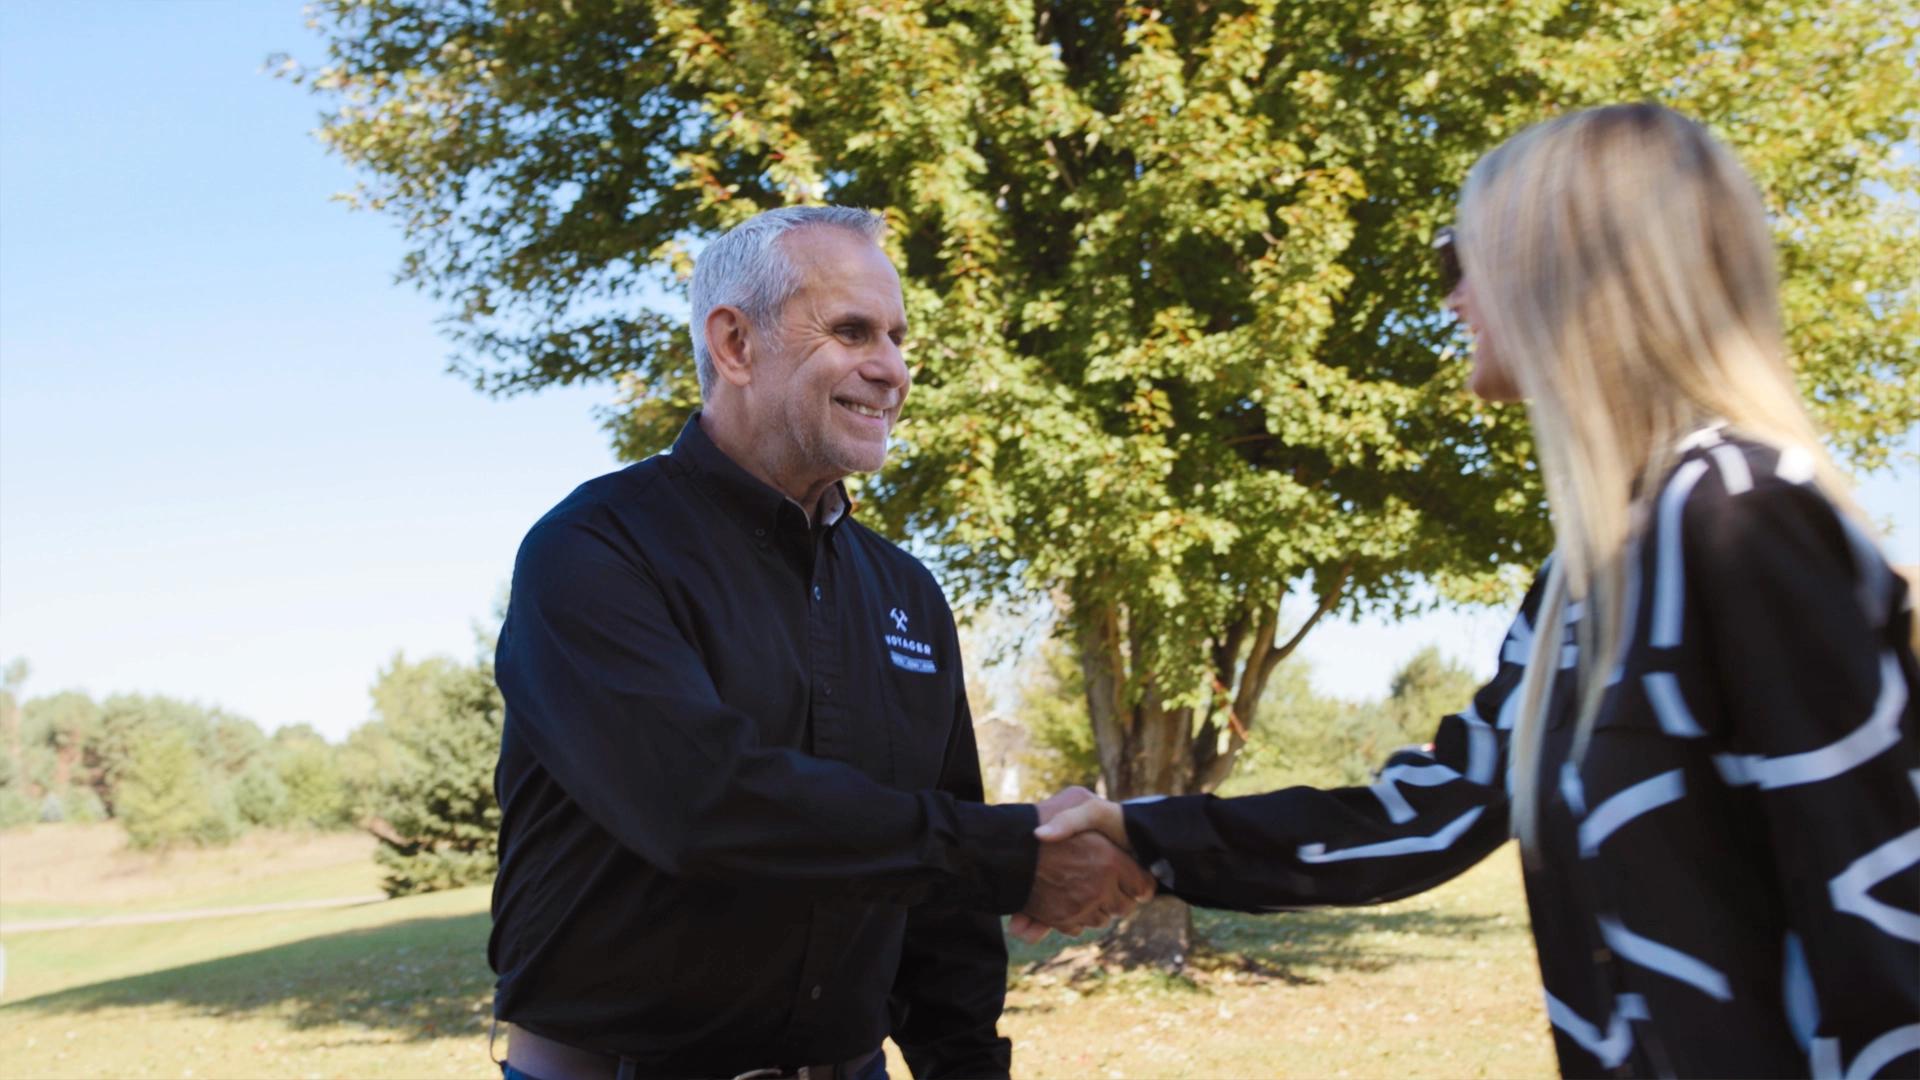
🏡 Asphalt Roof Replacement
When it’s time for an asphalt roof replacement, having the right team on your side makes all the difference. At Voyageur Exteriors, we bring trusted experience, top-tier materials, and a dedication to getting the job done right.
Whether you’re facing minor repairs or need a full roof replacement, we’re here to walk you through the process with clarity and care. Ready for a roof that’s built to last? Contact Voyageur Exteriors today for a free estimate—and see what dependable roofing looks like.