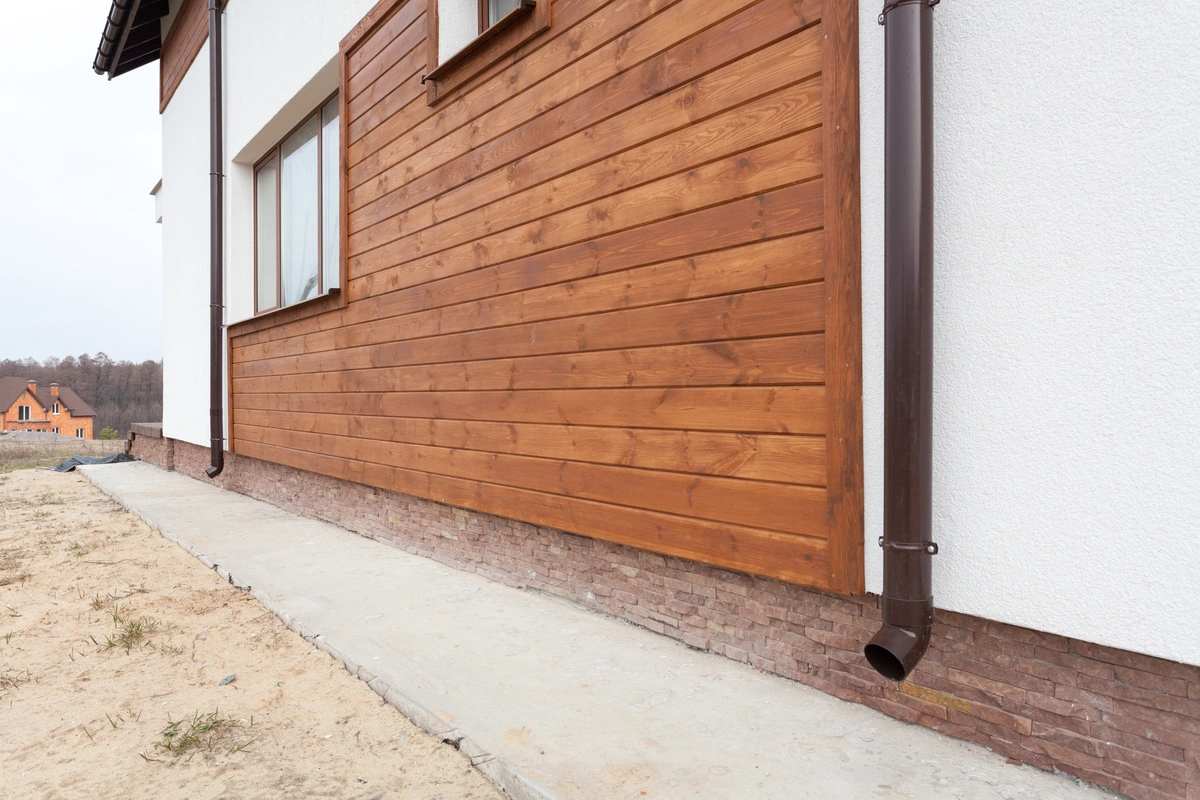
Your home’s wood siding does more than just enhance curb appeal—it protects your house from the elements and keeps your living space cozy year-round. Over time, however, dirt, mildew, and grime can wear away its beauty and functionality. Cleaning wood siding is a vital part of home maintenance to keep your house looking its best and prolong its life.
If you’re wondering where to start, this guide covers everything you need to know about how to clean wood siding safely and effectively. We’ll walk you through key steps, offer tips to make the process easier, and share why trusting a professional team like Voyager Exteriors can make a big difference. Here’s what we’ll cover in this guide:
- Why cleaning wood siding is essential
- Tools and materials you’ll need
- How to clean wood siding manually
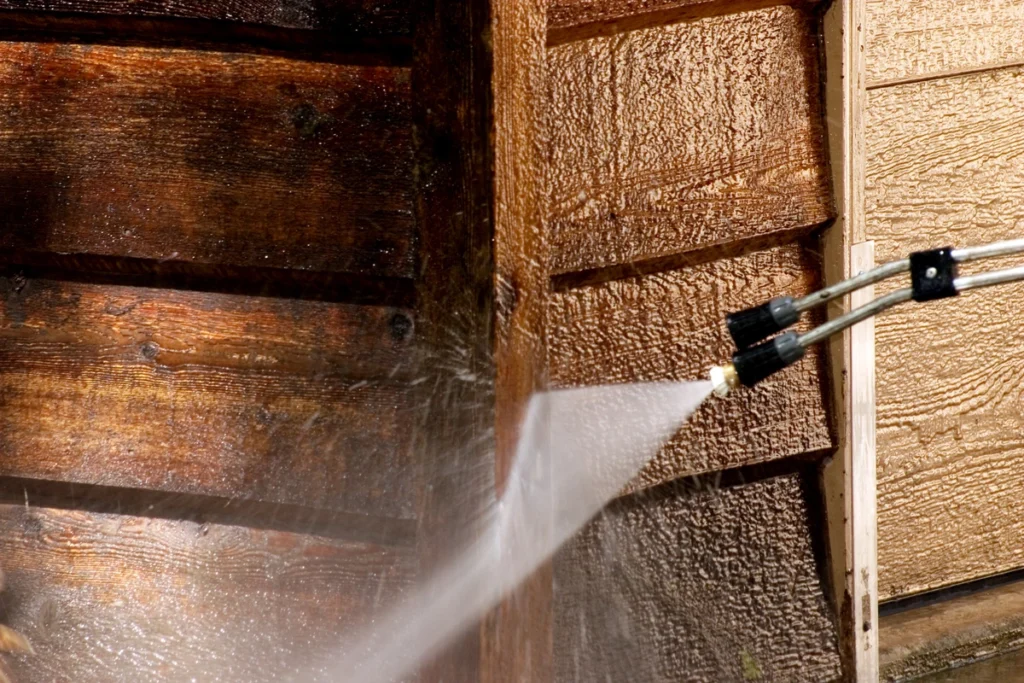
- Expert tips for power-washing wood siding (safely!)
- Removing mildew, stains, and tough grime
👉 Why Cleaning Wood Siding Is Essential
Wood siding is susceptible to dirt, mold, and mildew because of its porous nature. Over time, these contaminants can accumulate, causing damage that goes beyond just an unsightly appearance. Mold and mildew can seep into the wood, creating the perfect conditions for rot, which can compromise the structural integrity of your home. Additionally, dirt and grime can lead to permanent staining if not addressed promptly.
Beyond protecting your home, cleaning your wood siding regularly enhances curb appeal and ensures that your property always looks its best. Whether you’re maintaining your dream home or preparing to sell, a clean exterior makes a lasting impression. Preventative care, like routine cleaning, saves both time and money by reducing the need for frequent repairs or replacements.
Tools and Materials You’ll Need
- A soft-bristle brush or sponge
- A garden hose with a spray nozzle
- A bucket filled with mild detergent (or a pre-made wood cleaner)
- White vinegar for a natural cleaning solution
- Bleach (for removing stubborn mold or mildew)
💡 10 Expert Tips to Clean Wood Siding Like a Pro
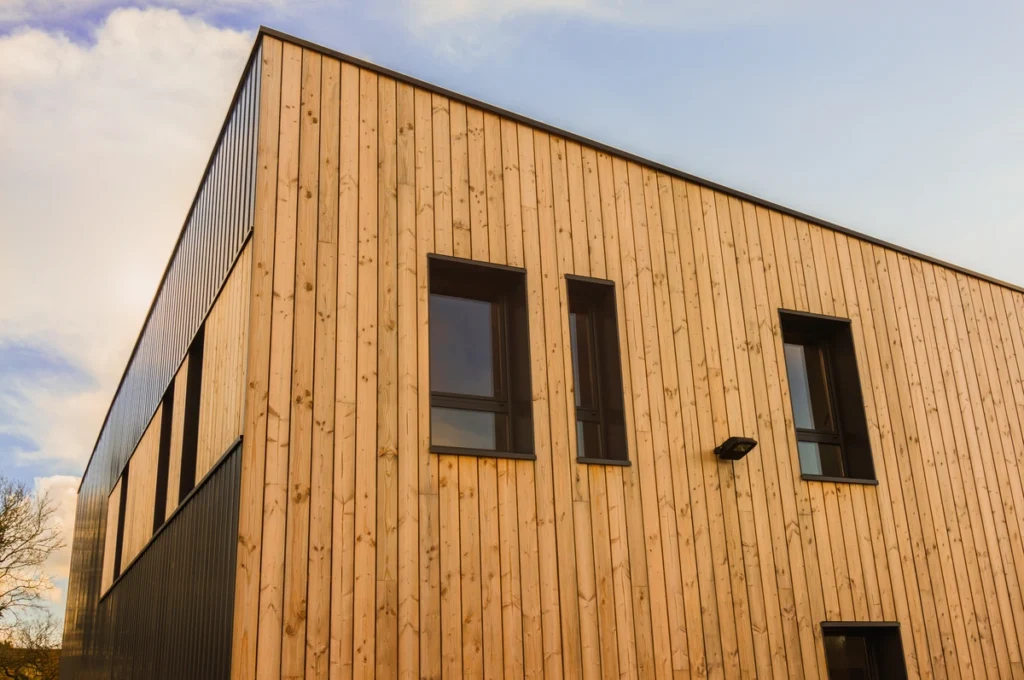
Keeping your wood siding clean not only boosts your home’s curb appeal but also extends its lifespan by preventing damage from dirt and grime buildup.
1. Test Your Cleaning Solution
Before applying your chosen cleaner across the entire siding, it’s essential to test it on a small, inconspicuous area. This will help you determine if the cleaner causes any discoloration or damage. Wait for the test area to dry completely before proceeding to ensure no adverse effects occur. This simple step can save you from potential costly repairs or unwanted blemishes on your siding.
2. Avoid Harsh Chemicals
Using harsh chemicals might seem like the fastest way to clean, but they can cause more harm than good. These strong cleaners can strip away protective layers or finish on the wood, leaving it vulnerable to further damage. Instead, opt for mild or natural cleaners, such as a mix of dish soap and water, or specialized wood-safe cleaning products. Natural options are not only safer for your wood but also for the environment.

3. Work in Small Sections
Trying to clean your entire siding at once can lead to uneven results and dried-on cleaning solutions. Divide the siding into small, manageable sections, focusing on one area at a time. This approach ensures that the cleaner doesn’t dry before you have a chance to rinse it off, preventing streaks or residue buildup. It also allows you to give each section the proper attention for a more thorough clean.
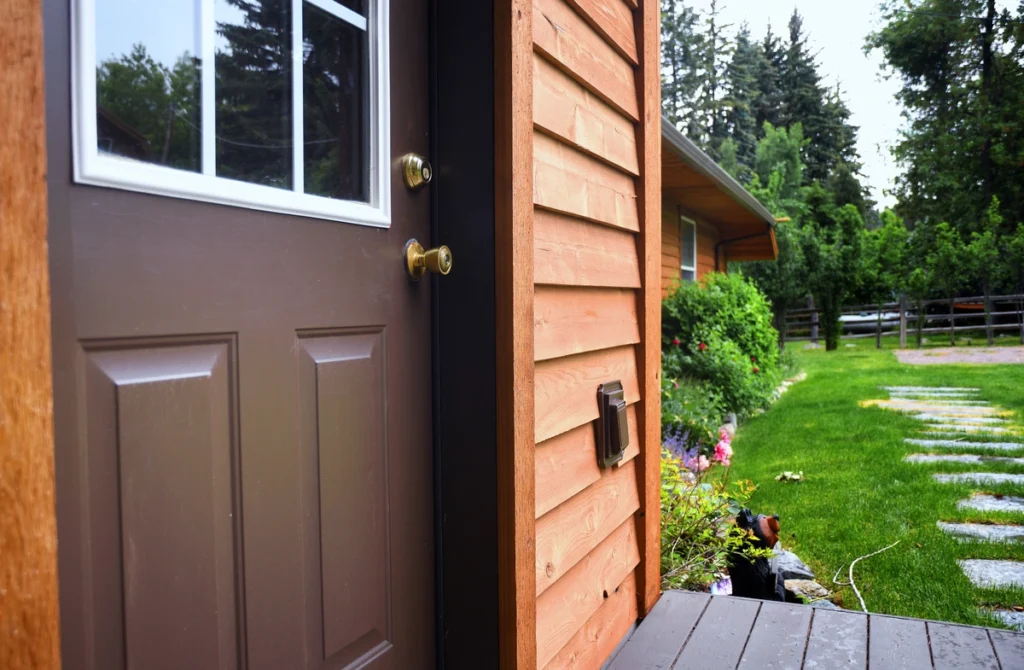
4. Don’t Forget the Gaps
The small gaps and corners between your siding boards are often overlooked but can accumulate dirt, debris, and even mold over time. Larger tools may not fit into these areas, so grab a soft-bristled toothbrush or a similar small tool to clean these hard-to-reach spots. Taking care of these details will leave your siding looking fresh and uniformly clean.
5. Treat Mold and Mildew Early
Mold and mildew can quickly spread and cause damage if left untreated. Use a cleaning solution made with one part bleach and four parts water to address these issues early. Apply the solution directly to the affected areas and let it sit for about 10 minutes to break down the growth. Scrub gently with a soft brush to avoid damaging the siding, then rinse thoroughly. Early treatment prevents long-term damage and keeps your siding looking great.
6. Clean On an Overcast Day
Cleaning your siding on a hot, sunny day might seem ideal, but direct sunlight can cause cleaning solutions and water to dry too quickly. This can lead to streaks or residue being left behind on the wood. Choose an overcast day or a time when your siding is shaded. The slower drying process gives you enough time to clean and rinse each section properly, ensuring a streak-free finish.
7. Check for Damage First
Before you begin cleaning, inspect your siding for any signs of damage, such as cracks, splinters, or loose boards. Cleaning damaged areas without addressing them first can worsen the problem. For example, water and cleaning solutions can seep into cracks, leading to further wood decay. Repair any damage before you start to ensure a smooth and safe cleaning process.
8. Use a Ladder Safely
If you need to clean areas that are out of reach, using a ladder is often necessary. However, safety should always be a priority. Make sure your ladder is stable and positioned on a flat, sturdy surface. Have someone nearby to hold the ladder or spot you as an extra precaution. Avoid overreaching while on the ladder, as this can cause it to tip over—move the ladder as needed to comfortably access all areas.
9. Rinse Away All Residue
Leaving cleaning solutions or soap residue on your siding can lead to discoloration or even weaken the wood over time. After scrubbing, thoroughly rinse each section with clean water using a garden hose or a pressure washer on a low setting. Pay special attention to crevices and edges to ensure no cleaner is left behind. Proper rinsing helps maintain the wood’s natural appearance and longevity.
10. Schedule Regular Maintenance
To keep your siding looking its best, make cleaning a regular part of your home maintenance routine. Cleaning once or twice a year can prevent dirt, mold, and grime buildup, extending the life of your siding. Combine cleaning with an annual inspection to identify any damage early. Regular upkeep not only preserves the aesthetic appeal of your home but also saves you from costly repairs in the long run.
✅ Steps To Clean Wood Siding Manually
For those who prefer a hands-on approach or want to avoid power washing, manual cleaning is an effective alternative. Here’s how to do it step-by-step.
Step 1: Prep Your Work Area
Before you start cleaning, it’s important to prepare your work area to ensure the process goes smoothly and safely. Begin by clearing the space around your home. Remove any outdoor furniture, gardening tools, or other obstacles that might block your access to the siding. This will give you enough room to work comfortably and avoid accidents. Protect any delicate plants, shrubs, or flowers near your home by covering them with a drop cloth or plastic sheeting. This will prevent the cleaning solutions from damaging or harming your greenery. Taking the time to prep your workspace now will save you trouble later and help ensure the best cleaning results.
Step 2: Rinse the Siding
The next step is to rinse off any loose dirt, dust, or debris from the surface of the siding. Use a garden hose with a nozzle attachment to create a steady stream of water. Start at the top of the siding and work your way down towards the bottom. This method prevents streaks and ensures all particles are washed away effectively. Pay close attention to corners, edges, and areas around windows or doors, where dirt tends to accumulate. A thorough rinse at this stage makes the cleaning process easier and prevents dirt from spreading while you scrub.
Step 3: Apply the Cleaning Solution
Now it’s time to tackle the actual cleaning. Prepare a cleaning solution by mixing a mild detergent with water in a bucket. If you prefer an eco-friendly option, white vinegar mixed with water works just as well to remove grime and mildew. Using a soft-bristle brush or a non-abrasive sponge, apply the solution to the siding. Be sure to scrub gently in the direction of the wood grain to avoid scratches or other damage. Work in small sections to ensure even cleaning, and don’t let the cleaning solution dry on the surface before rinsing. This step not only removes dirt but also helps eliminate any stubborn stains or buildup.
Step 4: Rinse and Inspect
Once you’ve finished cleaning a section of siding, thoroughly rinse it with your garden hose to wash away any remaining cleaning solution. Be diligent in removing all soap residue, as leftover detergent can leave streaks or spots on the siding. After rinsing, take a moment to inspect the area for any remaining stains, mildew, or dirt. Stubborn spots may need extra scrubbing or a second application of the cleaning solution. Repeat the rinsing and inspecting process for each section of your home’s siding until the entire surface is clean and spotless. This final step ensures your siding looks fresh and is free from grime, leaving your home’s exterior looking its best.
⭐️ Wood Siding Cleaning
At Voyager Exteriors, we understand that cleaning wood siding requires the perfect balance of care, expertise, and the right tools. With years of experience and a commitment to protecting your home, our team delivers professional siding cleaning services that not only enhance your home’s curb appeal but also preserve the longevity of your investment.
Trust us to handle your wood siding with safe and effective techniques that ensure exceptional results every time. Ready to give your siding the care it deserves? Contact Voyager Exteriors today to schedule your service or explore our full range of home improvement solutions!