If you’re a DIY enthusiast or a homeowner looking to enhance your home’s exterior, installing vinyl siding is a great project. Not only does vinyl siding improve your home’s curb appeal, but it also offers long-lasting protection against the elements. However, one critical aspect of installing vinyl siding is cutting it to fit around:
- Windows
- Doors
- Other architectural features
Our guide today will take you through the steps to cut vinyl siding accurately and efficiently so you can achieve a professional finish.
Understanding Vinyl Siding
Vinyl siding is durable, cost-effective, and low-maintenance. It comes in various colors and textures, allowing you to customize your home’s appearance. It’s also resistant to moisture and insects, making it an ideal choice for many homeowners.
Types of Vinyl Siding Cuts
There are several types of cuts you’ll need to make when installing vinyl siding:
- Straight Cuts – For fitting siding panels to length.
- Notches – For fitting around windows, doors, and corners.
- Curves or Arches – For decorative elements or irregular shapes.
Tools You’ll Need

Before you start, gather the following tools:
- Utility Knife
- Circular Saw with Fine-Tooth Blade
- Tin Snips
- Measuring Tape
- Speed Square
- Pencil or Marker
- Safety Glasses
- Gloves
- Workbench or Sawhorses
6 Simple Steps to Cutting Vinyl Siding
Ready to cut your siding like a professional? Follow these steps for accurate cuts every single time.
1. Measuring and Marking
Measure Twice, Cut Once

- Use a measuring tape to determine the length of the siding you need. Measure from the end of the panel to the point where it intersects with a window, door, or corner.
- Double-check your measurements to ensure accuracy. Mistakes can be costly and time-consuming.
- Mark your measurements on the vinyl siding using a pencil or marker. Use a speed square to ensure straight lines.
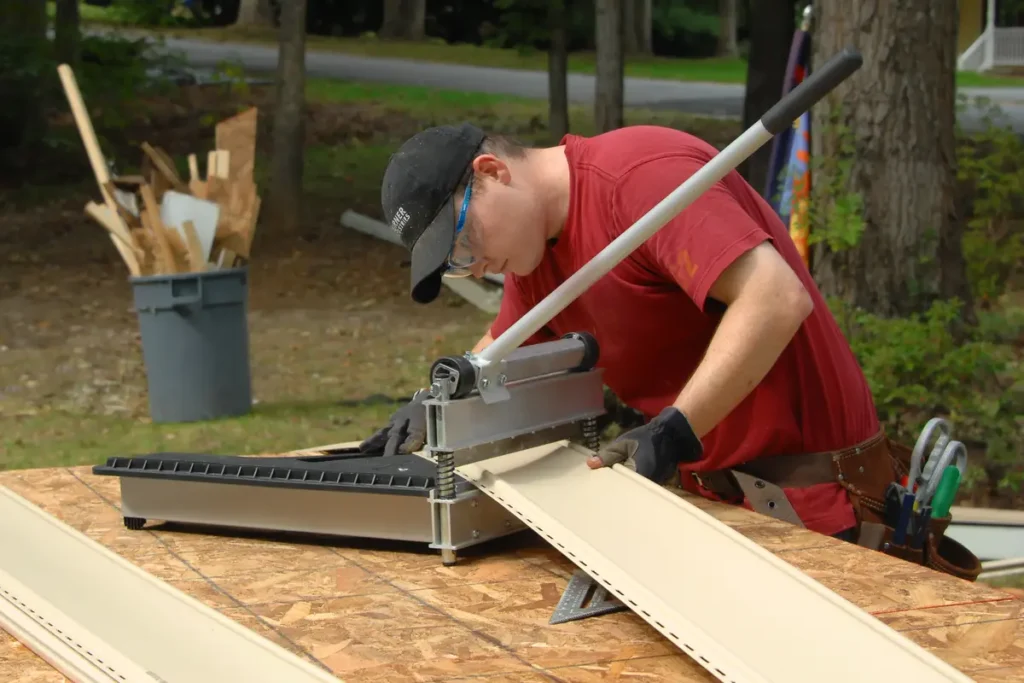
2. Straight Cuts
Utility Knife Method
- Place the siding on a flat surface, like a workbench or sawhorses.
- Align your speed square with the marked line and score the vinyl siding with a utility knife.
- Bend the siding along the scored line until it snaps cleanly.
Circular Saw Method
- Equip your circular saw with a fine-tooth blade. A blade with at least 80 teeth is recommended for smooth cuts.
- Place the siding on your workbench and secure it.
- Cut along the marked line with the circular saw, keeping a steady hand.
- Use safety glasses and gloves to protect yourself from flying debris.
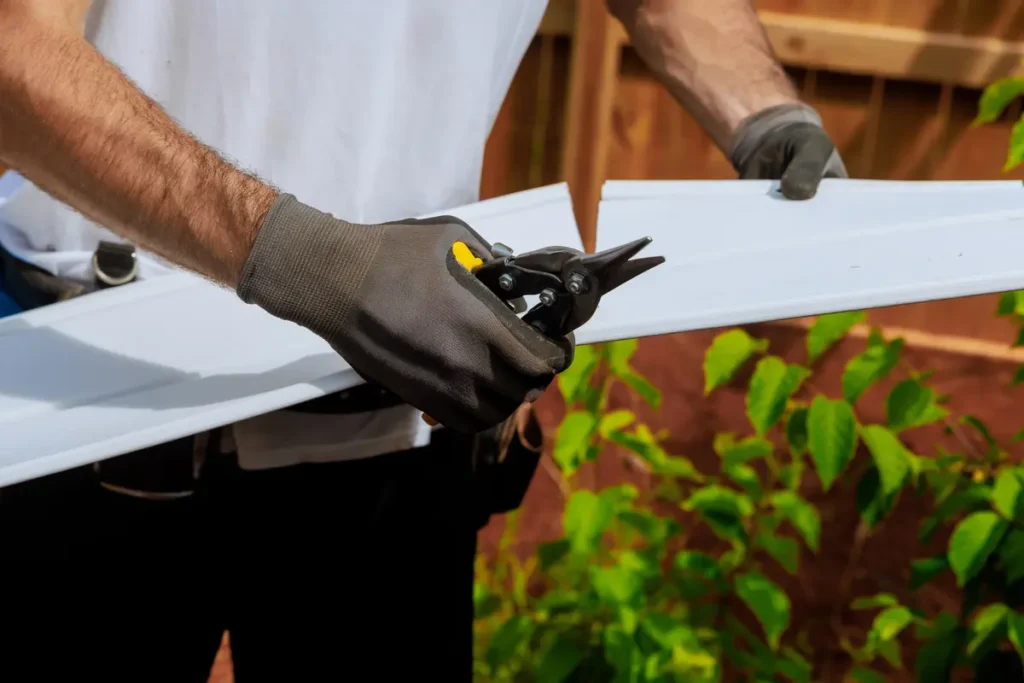
3. Cutting Notches
Tin Snips Method
- Mark the area you need to notch using your measuring tape and marker.
- Use tin snips to cut along the marked lines. Snip one side, then the other, and finally remove the notch.
- Smooth any rough edges with a utility knife.
4. Cutting Curves and Arches
Scoring and Snapping
- Draw the curve or arch on the vinyl siding using a flexible curve ruler or a template.
- Score along the curved line with a utility knife.
- Carefully bend the siding along the scored line until it snaps.
Jigsaw Method
- Use a jigsaw with a fine-tooth blade for more intricate curves.
- Secure the siding on your workbench.
- Follow the marked curve with the jigsaw, keeping a steady hand for a smooth cut.
5. Fitting the Siding
Dry Fit First
- Before permanently attaching the siding, do a dry fit to ensure it fits properly.
- Make any necessary adjustments by trimming or sanding the edges.
6. Installing the Siding
Nail it Down
- Once you’re satisfied with the fit, nail the siding in place using corrosion-resistant nails.
- Leave a small gap between the nail head and the siding to allow for expansion and contraction.
Tips for Success
We’re giving you the inside scoop on how to cut vinyl siding successfully every single time.
Safety First
Always wear safety glasses and gloves to protect yourself from sharp edges and flying debris. Work in a well-ventilated area to avoid inhaling dust.
Use Quality Tools
Invest in high-quality tools to make your job easier and more efficient. Keep your blades sharp for clean cuts.
Practice on Scraps
If you’re new to cutting vinyl siding, practice on scrap pieces to get a feel for the material and tools.
Follow Manufacturer Instructions
Each brand of vinyl siding may have specific installation guidelines. Always follow the manufacturer’s instructions for the best results.
Common Mistakes to Avoid
As a newbie, it’s easy to make mistakes when you go to cut and install vinyl siding. Here the most common:
- Inaccurate Measurements: Always double-check your measurements before cutting. Even a small mistake can result in wasted material.
- Over-Tightening Nails: Don’t drive nails too tightly into the siding. This can cause buckling and prevent the siding from expanding and contracting.
- Skipping Safety Gear: Never skip wearing safety gear. Protecting yourself should always be a priority.
Leave The Cutting Process To A Siding Contractor
Cutting vinyl siding may seem daunting at first, but with the right tools and techniques, you can achieve professional results. Remember to measure carefully, use high-quality tools, and prioritize safety at all times.
Ready to transform your home’s exterior? Grab your tools, follow this guide, and get started on your vinyl siding project today! And when in doubt, contact our team at Voyager Exteriors today in order to install vinyl siding professionally.