If you’re wondering how to remove vinyl siding, whether for a repair project or full-on home renovation, you’re in the right place. Removing vinyl siding can seem intimidating at first, but with the right tools and a clear plan, it’s something you can tackle confidently. Vinyl siding is designed to be durable and long-lasting, but over time, certain areas may require attention due to damage, weathering, or simply a desire for an upgrade.
Why might you need to remove vinyl siding?
- To repair underlying structural issues
- To replace damaged sections
- For a complete siding replacement
This guide will walk you through all the steps of vinyl siding removal, provide tips for a hassle-free experience, and highlight how you can finish your project with professional results.
Preparation is Key
🛠️ Gather the Right Tools
Before starting, make sure you have all the tools you’ll need. You can find most of these at your local home improvement store. Here’s a list to get started:
- A vinyl siding removal tool (also called a zip tool)
- Pry bar
- Hammer or mallet
- Screwdriver (flathead and Phillips)
- Roofing nails (for reinstalling or securing loose planks)
- Safety gear (gloves, safety goggles, and a dust mask)
- A ladder (if your siding covers upper floors)
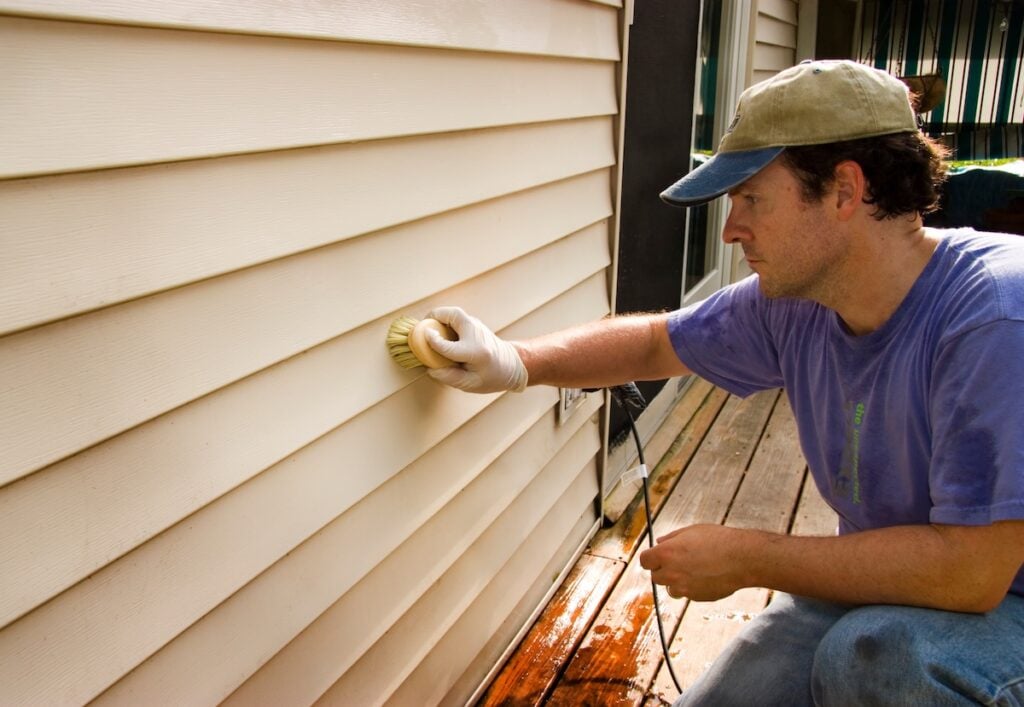
🔍 Inspect the Siding and Surroundings
Take a good look at your exterior walls to determine the scope of the project. Are you removing just a few planks to make repairs, or is the entire siding coming down? Note any particularly tricky areas, like around windows, corners, or electrical fixtures.
Be sure to clear the area around the base of your wall. Move outdoor furniture, planters, or any obstructions to give yourself room to work.
Step 1: Start at the Top
Using a Zip Tool
The first step to remove vinyl siding is to unlock the panels. Vinyl siding pieces are installed in overlapping rows, and each plank is “locked” into the one above it. A zip tool is essential for this task.

- Position the zip tool under the bottom edge of the panel you want to remove.
- Wiggle the tool gently to unlock the plank from the one below it.
- Slide the zip tool along the entire length of the plank, freeing it from the lock.
Pro Tip: Be cautious as you lift the panels to avoid cracking the edges, especially if your vinyl siding is older or has become brittle over time.
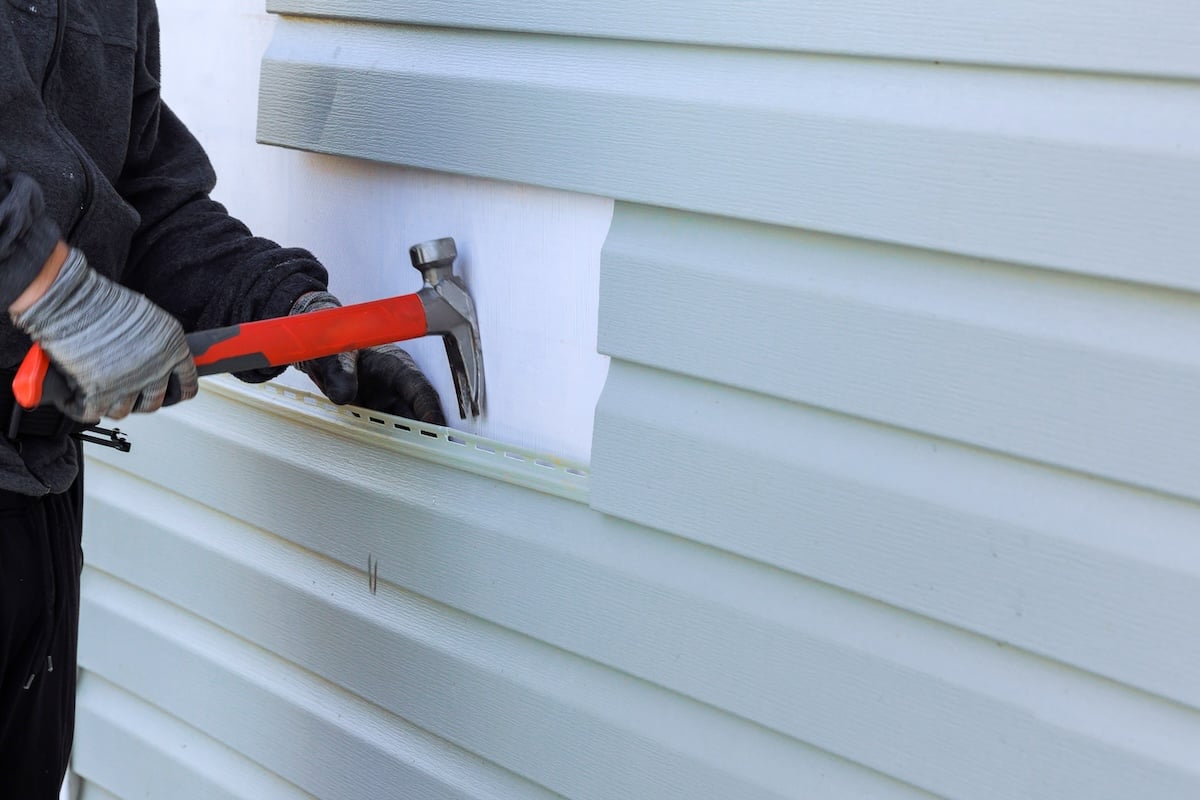
Removing Nails
Once you’ve unlocked the siding, you’ll need to take out the nails holding the plank in place.
- Use a hammer or pry bar to pull out each nail carefully.
- Place the nails in a container to avoid losing them, especially if you plan on reusing the same material.
Keep in mind that the nails may be rusted or embedded deep into the siding. Patience at this stage is key to preventing damage to surrounding planks.
Step 2: Work Row by Row
After unlocking and removing the top-most plank, move on to the next row. Vinyl siding removal progresses downward.
Detaching Each Section
- Start by using the zip tool to unlock the next row of siding.
- Remove all nails securing the plank.
- Repeat the process row by row until you reach the bottom of the wall.
Pro Tip: Stack the removed planks neatly and avoid bending or overstressing them, especially if you’re planning to reuse the material or donate it for other home improvement projects.
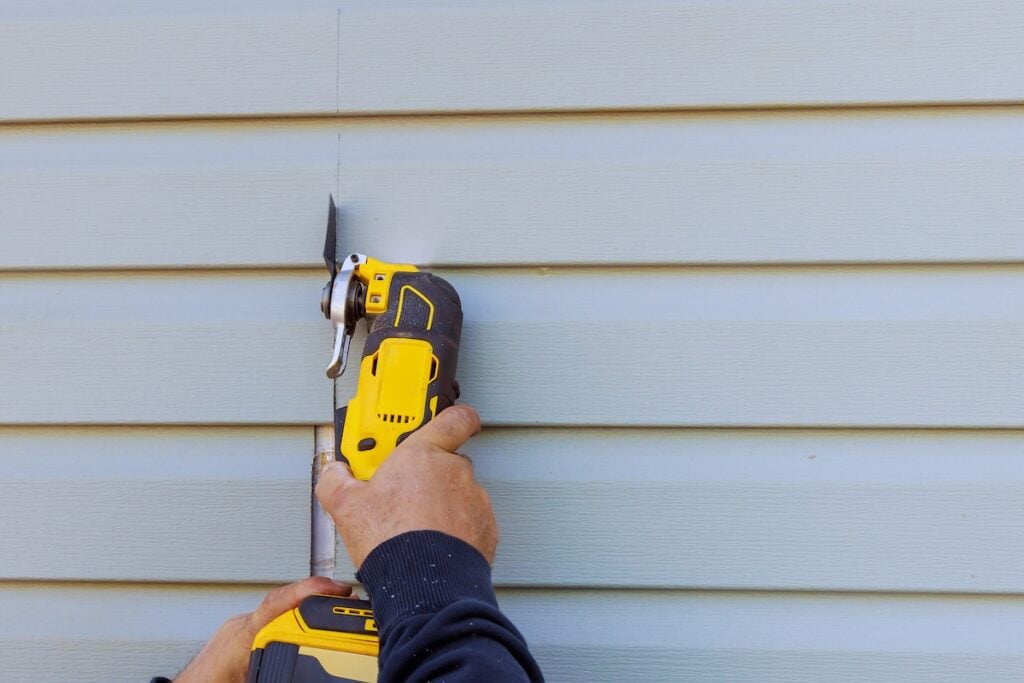
Tackling Corners and Edges
Corners and edges often have additional interlocking strips or brackets that provide stability. Use caution when removing these areas, as they may require a bit more patience and precision.
Step 3: Removing Surrounding Fixtures and Components
Vinyl planks are typically cut and fitted around doors, windows, vents, and other fixtures on your home. Here’s how to handle these areas without trouble.
Around Windows and Doors
Use the flathead screwdriver to loosen trim pieces around any openings. Gently pry these away to expose the underlying siding. You may need a utility knife to cut any caulking or seals that hold trim in place.
Disconnecting Electrical Fixtures
For safety, turn off the electricity at the breaker box before removing siding near outlets, lights, or wiring. Detach the fixture from the wall so that you can free the surrounding panels.
Keep these small details in mind as they can make a big difference in simplifying removal and preventing unnecessary damage to other parts of your home.
Step 4: Inspect the Underlying Material
With the vinyl siding removed, take this opportunity to inspect the wall material underneath. Look for signs of water damage, mold, pests, or deterioration.
If you find any issues, repair them before reinstalling the siding or applying new material. Addressing these problems now will save you headaches and additional expenses later.
Step 5: Clean Up and Clean Out
- Collect all discarded materials (including old nails) and properly dispose of them or recycle where possible. Some home improvement stores or recycling centers may accept used vinyl siding.
- Thoroughly clean the exposed wall to remove debris, dirt, or adhesive.
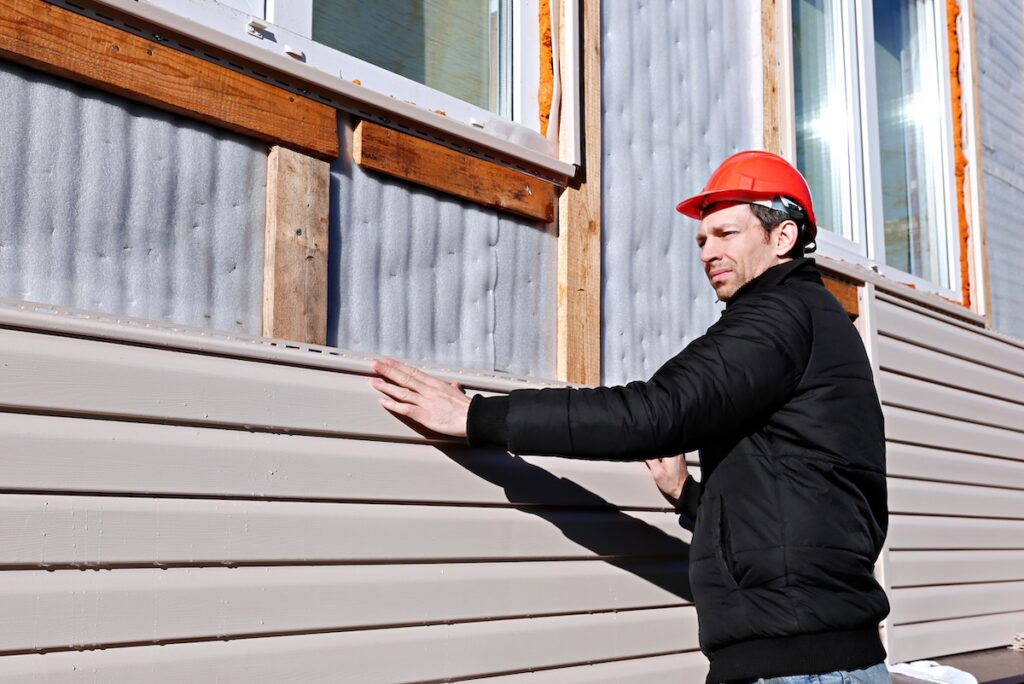
Step 6 (Optional): Reinstall or Replace
If you’re planning to reinstall the same vinyl siding, make sure to store the planks in a safe, dry place until the materials are needed again. Should you decide to replace your siding entirely, now’s the time to explore material options and get started with a fresh installation.
How to Reinstall Vinyl Siding
Here’s a quick overview of the reinstall process, which involves reversing most of the steps above but being mindful of alignment, securing nails properly, and ensuring each plank locks tightly with the one below it. Don’t forget to consult your vinyl siding’s instruction manual for specific guidelines!
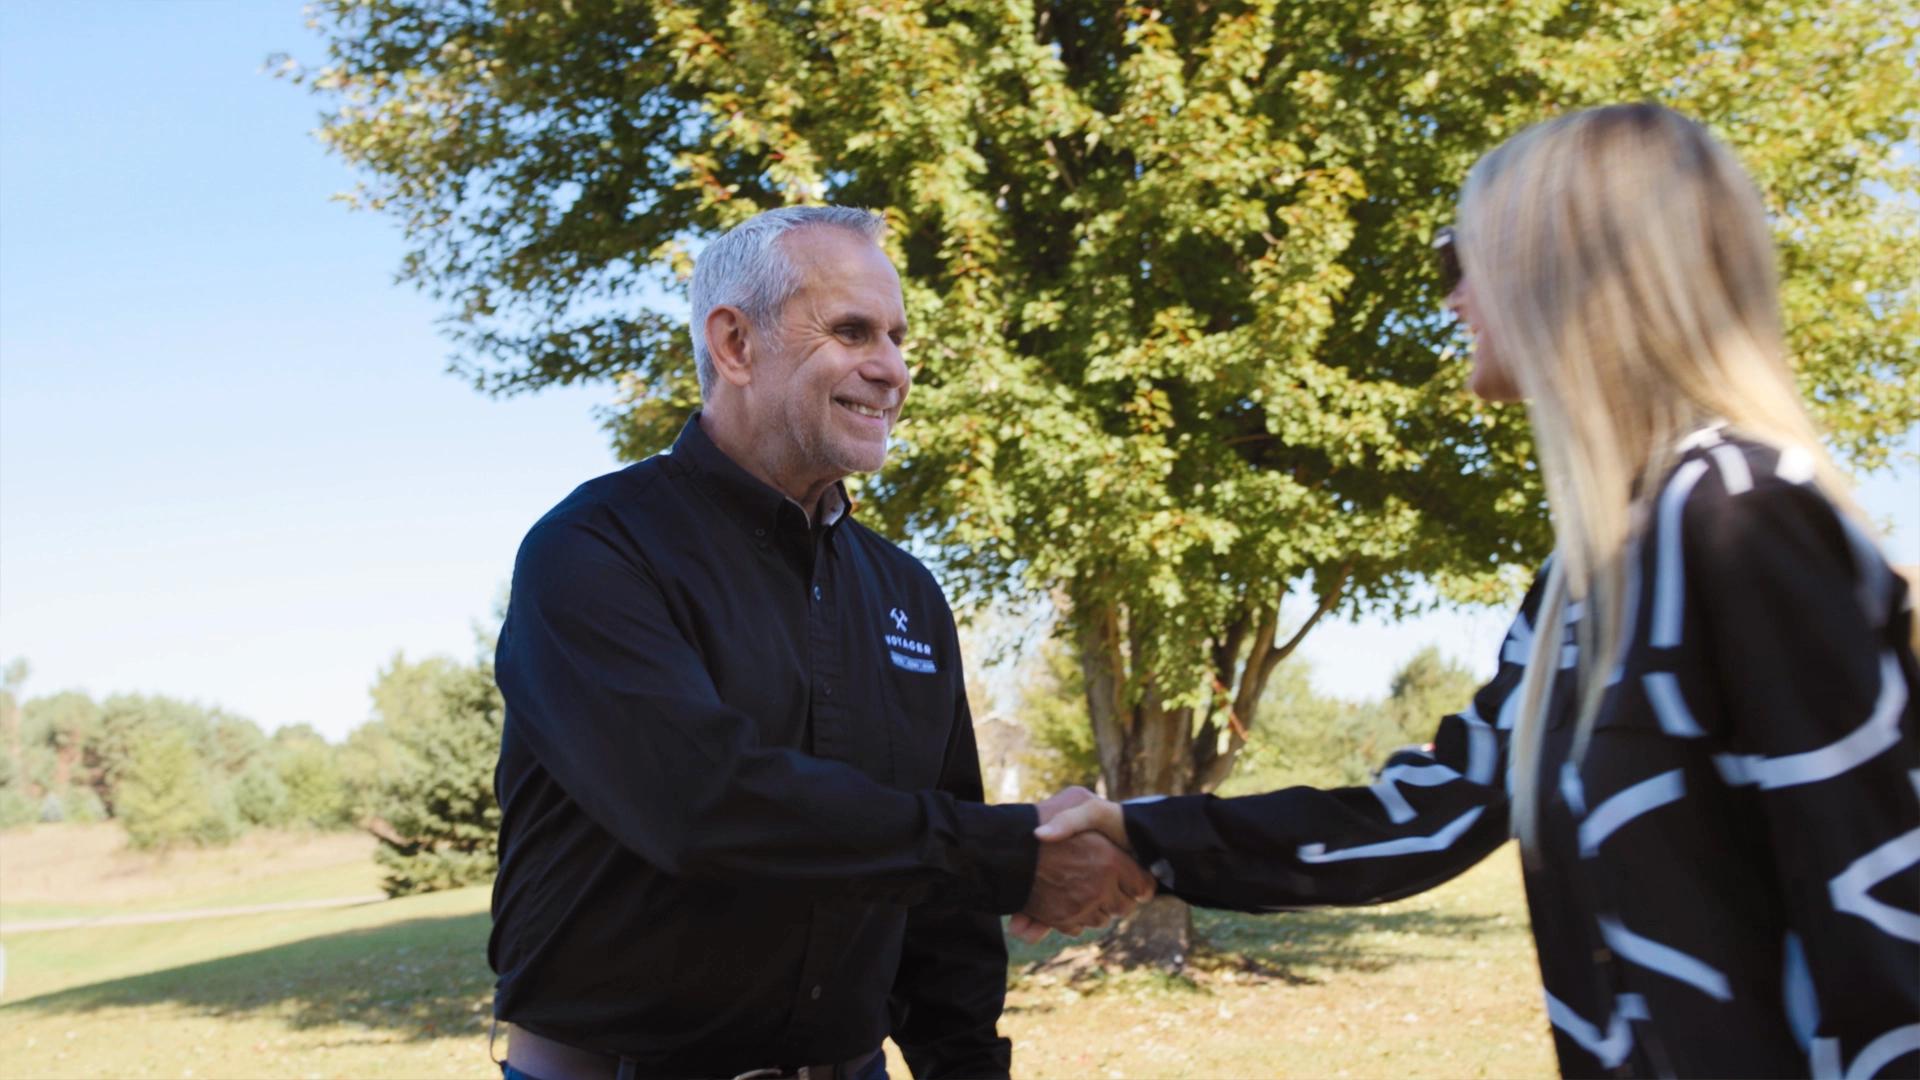
Why Choose Voyager Exteriors for Your Siding Needs?
Removing vinyl siding is a rewarding project, but it requires skill and attention to detail. Whether you’re tackling a repair or planning a complete exterior makeover, having experts by your side can make all the difference.
At Voyager Exteriors, we have years of experience in siding removal, installation, and repair. Our knowledgeable team can guide you every step of the way, ensuring your home improvement projects yield professional-quality results. We work with top-tier materials and offer tailored solutions that fit your budget and aesthetic preferences.
Don’t settle for anything less than excellence. Contact Voyager Exteriors today to make your vision a reality.