Is your deck showing signs of wear and tear? Replacing deck boards is an essential part of maintaining a safe, functional, and attractive outdoor space. Whether your boards are cracked, warped, or rotting, you can give your deck a fresh, polished look in just a few simple steps.
This guide will walk you through the step-by-step process of how to replace deck boards, provide safety tips, and explain tools you’ll need to bring your deck back to life. Here’s what you’ll learn:
- Why replace deck boards?
- Step-by-step guide to replace deck boards
- Tips for maintaining your deck once the boards are replaced
🤔 Why Replace Deck Boards?

Over time, deck boards can become unsafe due to weather exposure, heavy foot traffic, and general aging. Sunlight, rain, and fluctuating temperatures can cause wood to crack, warp, or rot, while years of use can loosen fasteners or weaken the structure of the boards. Cracked, rotting, or loose boards are more than just eyesores—they’re hazards that can lead to trips, slips, or more serious injuries, especially for children or elderly family members. Neglecting these issues can put your loved ones at risk and result in expensive repairs down the line. By addressing damaged boards promptly, you can restore both the safety and beauty of your outdoor space, creating an inviting area for entertaining, relaxing, and enjoying the outdoors. Additionally, replacing worn-out boards is a simple yet effective way to extend the lifespan of your deck, saving you money in the long run.
Plus, swapping out older boards gives you an excellent opportunity to consider alternative materials, like durable composite decking or fresh cedar wood.
Benefits of Replacing Deck Boards:
- Improves the safety of your deck
- Enhances aesthetic appeal
- Adds to your property’s value
- Reduces long-term maintenance costs
✅ 6 Step-by-Step Guide to Replace Deck Boards
Replacing your decking might seem like a daunting project, but broken down into manageable steps, it’s a task you can tackle with confidence.
1: Assess the Deck Damage
Before starting your deck repair project, thoroughly inspect the entire surface of your backyard deck or patio deck. Identify which decking boards are damaged and need replacement. Look for signs of splintering, cracking, or splitting wood, as these can compromise the safety and appearance of your outdoor deck. Check for areas with wood rot or discoloration, common indicators of water damage, and look for warped, bowed, or loose planks. Once you’ve identified the damaged deck boards, mark them with a carpenter’s pencil to stay organized. This step ensures you’ll know exactly where to focus your efforts for an efficient deck restoration process.
2: Remove the Old Deck Boards
Carefully remove the damaged decking boards from your wooden deck or composite deck. Use a crowbar or pry bar to lift the boards, and if they’re secured with screws or nails, unscrew them using a drill or screwdriver. For stubborn screws or nails, use pliers or a hammer claw for extra leverage. Take your time during this step to prevent damage to the surrounding boards or the underlying deck frame. If you’re working with pressure-treated wood, be sure to wear gloves to protect your hands from splinters. Removing damaged decking carefully is a key part of quality deck maintenance.

3: Measure and Cut Replacement Boards
Once the old boards are removed, measure the sections where they were installed. Use a measuring tape to record the length and width of the gaps in your decking surface. Precise measurements are essential for ensuring the replacement boards fit perfectly. Using a circular saw, cut the new decking boards to size. When cutting wood or composite materials, always wear safety goggles to protect against sawdust and other debris. Accurate measuring and cutting is critical to achieving a professional result in your DIY deck repair project.
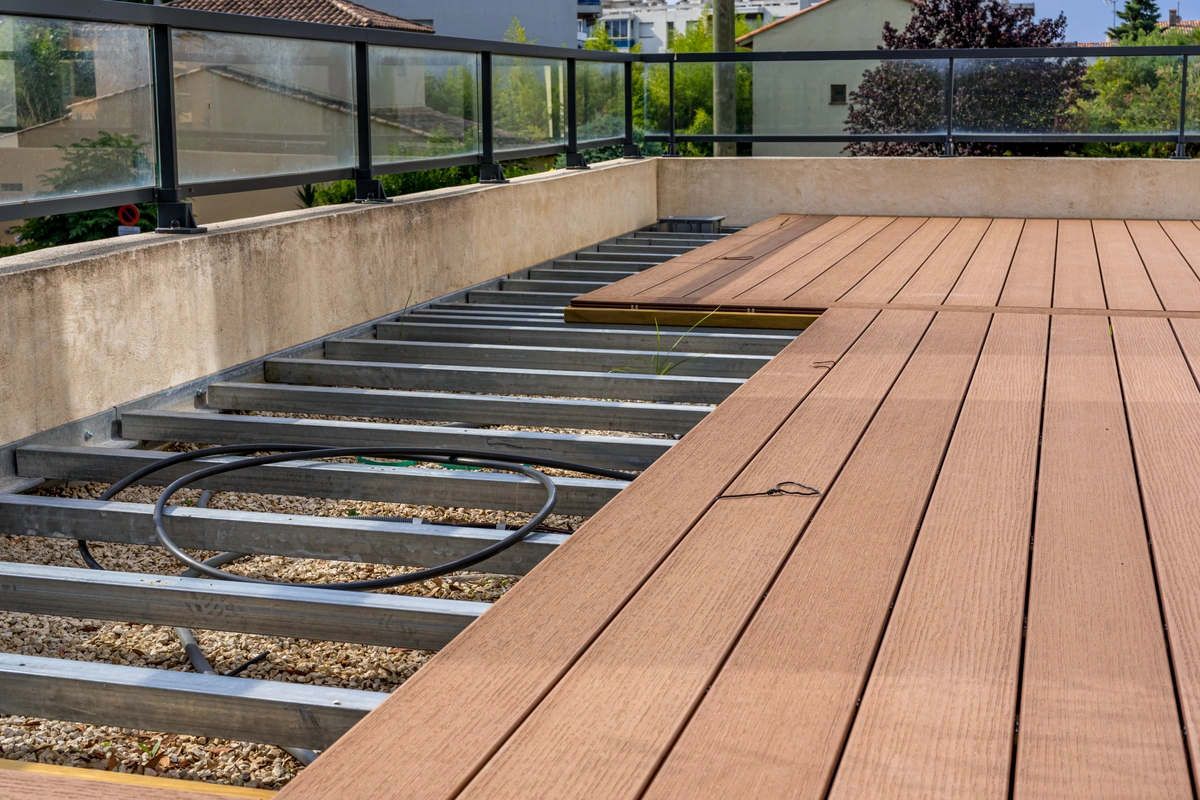
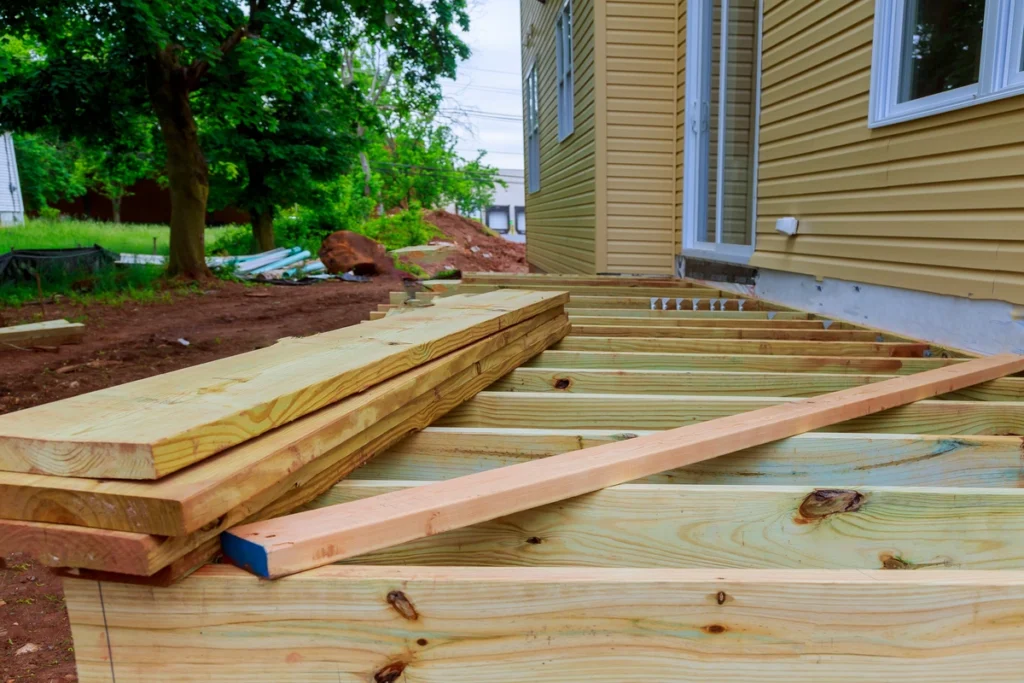
4: Prepare the Deck Frame for Repairs
Before installing the new deck boards, take time to inspect the deck frame for any damage or instability. Look for signs of rot, loose screws, or compromised structural areas that could weaken your deck. Reinforce the frame as needed by replacing rotted wood, tightening screws, or securing wobbly sections. A solid deck frame is the foundation of a safe and durable outdoor living space. Properly preparing the frame will help your deck renovation last longer and stand up to daily use.
5: Install New Deck Boards
With the frame ready, install the replacement deck boards. Place the new boards in the gaps left by the old ones, making sure they’re aligned properly. Be mindful of spacing between boards to allow for natural expansion and contraction due to temperature and humidity changes. Follow the manufacturer’s guidelines for your decking material, whether it’s hardwood decking, composite decking, or pressure-treated wood, to ensure the correct spacing. Secure the new boards using screws or nails and a drill or hammer, taking care to fasten them tightly. Proper installation is key to successful deck repairs.
6: Final Deck Finishing Touches
After all the boards are installed, smooth out any rough edges or uneven surfaces with sandpaper or a sanding tool. This step not only gives your deck a polished look but also ensures safety by preventing splinters. Once sanding is complete, apply a weatherproof sealant or wood stain to protect your deck from moisture, UV rays, and other environmental damage. Sealants and stains not only extend the life of your deck but also enhance its appearance, making it a beautiful and functional part of your outdoor space. Completing these final touches ensures a long-lasting, well-maintained deck renovation.
🧰 Maintenance Tips for Your Newly Replaced Deck

Congratulations! With your fresh deck boards in place, ongoing maintenance will help keep your outdoor space looking pristine for years to come.
Clean Your Deck Regularly
Keeping your deck clean is essential for maintaining its appearance, durability, and safety. Sweep away debris like leaves, dirt, and twigs regularly to prevent moisture buildup, which can lead to mold, mildew, or even wood rot over time. A clean deck not only looks great but also creates a safer, slip-free surface for everyone to enjoy. Regular cleaning helps extend the lifespan of your deck and improves its overall condition.
Power Wash Your Deck Annually
An annual power wash goes a long way in keeping your deck in top shape. A light power wash helps to remove built-up grime, stains, algae, moss, and residue, especially on wood surfaces, which can accumulate over time. Be sure to use the appropriate pressure setting to avoid damaging the surface. For composite decking or vinyl decks, consult the manufacturer’s care instructions before power washing to ensure the best results without harm.
Check for Deck Damage Regularly
Make it a habit to inspect your deck periodically for signs of damage. Look for warped, cracked, or splintered boards, as well as rusted nails, screws, or fasteners. Catching these issues early can save you from costly deck repairs down the line. Pay special attention to high-traffic areas near doorways, stairs, and railings where wear is often more prominent. Regular deck maintenance ensures a safer outdoor space for your family and friends.
Seal Your Wooden Deck Every 3 Years
If your deck is made of wood, applying a sealant every three years is crucial. Sealing helps protect the wood from moisture, UV rays, and temperature changes, which can cause warping, rotting, or cracking. Choose a high-quality deck sealant designed for your specific type of wood, and apply it after thoroughly cleaning and drying your deck. This simple deck maintenance step can significantly extend the life of your outdoor space and preserve its beauty for years to come.
By following these regular deck care tips—cleaning, power washing, inspecting for damage, and sealing—you’ll ensure your deck remains a safe, attractive, and long-lasting addition to your home. Whether you have a pressure-treated wood deck, composite deck, or vinyl deck, proper maintenance is key to enjoying your outdoor living area for years.
🛠️ Deck Board Replacement
Replacing deck boards can be a time-consuming and challenging task, but you don’t have to tackle it alone. At Voyager Exteriors, we bring expert craftsmanship, high-quality materials, and a customer-first approach to every project.
Whether you’re upgrading to durable Trex composite decking or looking for a custom design that suits your style, our team has the skills and experience to make your vision a reality. Ready to transform your outdoor space? Contact Voyager Exteriors today for a free consultation and let us help you create the deck of your dreams!