If you’ve been wondering, “can you stain pressure treated wood?”, the short answer is yes. However, timing, preparation, and proper technique are crucial to achieving professional results. Pressure-treated wood is a durable choice for outdoor structures like decks and fences, but staining ensures added protection and enhances its aesthetic appeal.
Before you grab your brush, there are a few things to keep in mind:
- Not all pressure-treated wood is ready to stain immediately. It requires adequate drying time.
- Preparation is key. Cleaning and sanding the wood can make all the difference in how well the stain adheres.
- Picking the right stain matters. The type of stain you choose impacts durability and appearance.
Below, we’ll guide you through when and how to stain pressure-treated wood. We’ll also explore the benefits of staining, the types of stains available, and common mistakes to avoid.
🪵 Why Stain Pressure-Treated Wood?
Pressure-treated wood is infused with chemicals to resist rot, insects, and decay. While this makes it highly durable, it doesn’t fully protect against weather-related damage like UV rays, moisture, and warping. Staining serves as an additional barrier, helping to:
- Protect the wood: A stain shields the surface from sun damage and water absorption that can lead to cracks or splits.
- Enhance its appearance: A good stain brings out the natural character of the wood while adding color.
- Extend its lifespan: By adding a protective coating, your wood structures can last years longer.
⏳ When Can You Stain Pressure-Treated Wood?
Staining pressure-treated wood is all about timing. If you attempt to stain it too soon, the wood’s moisture content may prevent the stain from properly adhering. Here’s what you need to know:
Test for Dryness
New pressure-treated wood is typically saturated with water from the chemical treatment process. Allowing the wood to dry thoroughly ensures better stain penetration. A simple “water drop test” can reveal if your wood is ready:
- Sprinkle a few drops of water on the wood’s surface.
- If the water beads up, the wood isn’t dry enough for staining.
- If the water absorbs quickly, it’s ready to go.
Seasonal Timing
The drying time for pressure-treated wood varies depending on climate. On average:

- Warm, dry weather may dry the wood in 1-2 months.
- Cooler, humid conditions could take closer to 6 months.
Always double-check with the manufacturer’s guidelines for exact recommendations.
📋 Types of Stains for Pressure-Treated Wood
Selecting the right stain is important for achieving the desired look and protection level. Here are the main categories to consider:
Transparent Stains
- Highlight the natural grain and texture of the wood.
- Offer minimal color but maximum visibility of the wood’s natural appearance.
Semi-Transparent Stains
- Add a hint of color while still showcasing wood grain.
- Provide moderate protection against UV damage and weathering.
Solid Stains
- Offer full color coverage, hiding the natural grain.
- Superior durability, ideal for older or weathered wood.
Water-Based vs. Oil-Based
- Water-Based Stains are eco-friendly, quick to dry, and easy to clean up.
- Oil-Based Stains penetrate deeper and provide long-lasting protection but take longer to dry and have stronger odors.
✅ How to Stain Pressure-Treated Wood (Step-by-Step Guide)
Follow these simple steps for staining pressure-treated wood and achieving a professional finish.
Step 1: Prepare the Surface
Preparation is everything. Start by cleaning the wood and sanding down rough areas.
- Clean the Wood: Use a specialized wood cleaner or pressure washer to remove dirt, mildew, and residue. For tough stains, a mixture of warm water and mild detergent works wonders.
- Sand if Necessary: Sanding smooths the surface and removes splinters, especially for older wood. Use 120-grit sandpaper.
- Allow the Wood to Dry: After cleaning, ensure the wood dries completely. This could take 24-48 hours depending on humidity.
Step 2: Choose the Right Stain
Pick a stain that suits your needs. Keep in mind your climate and the look you want to achieve.
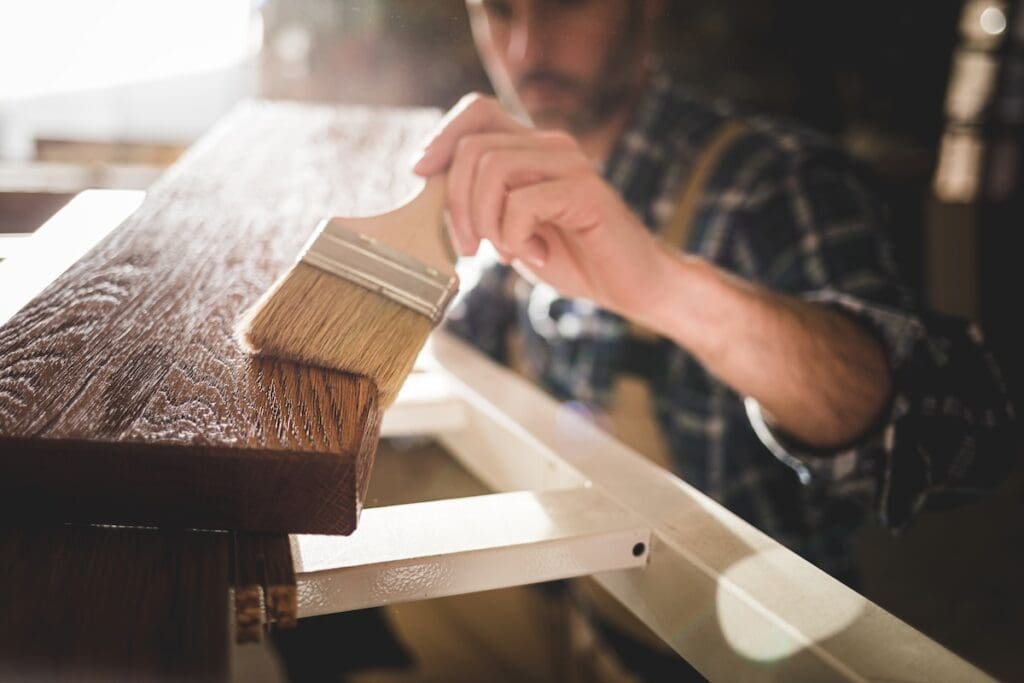
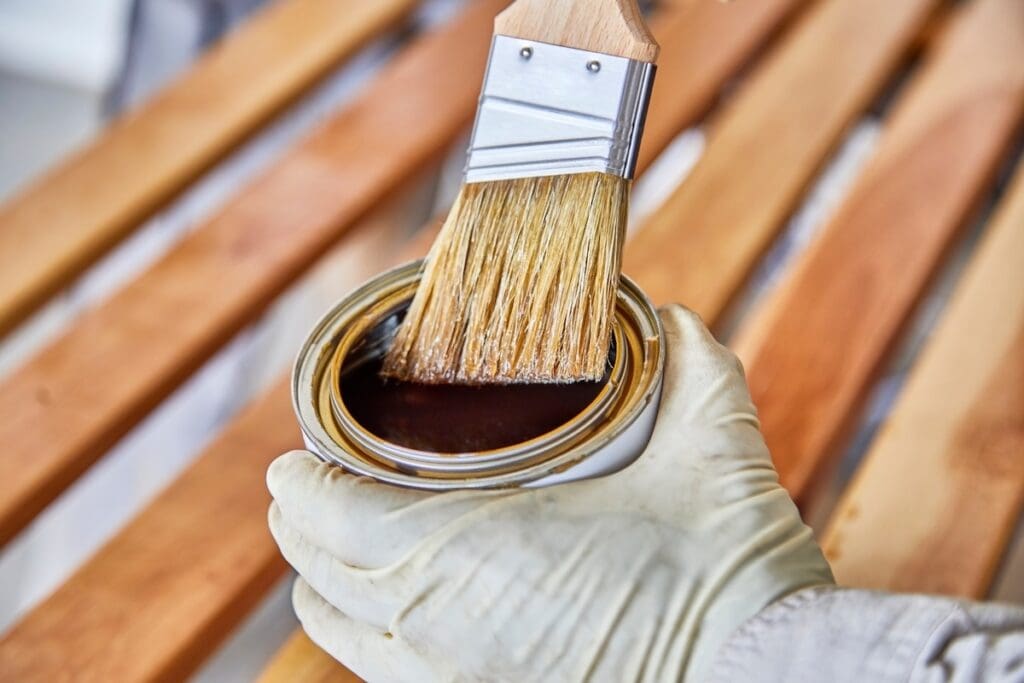
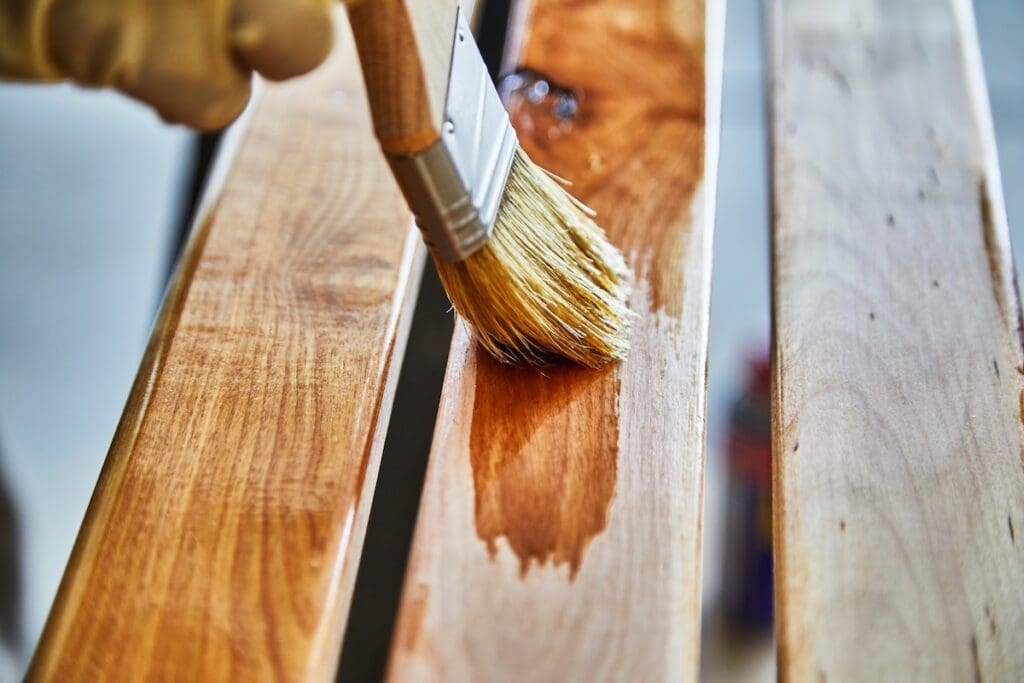
Step 3: Apply the Stain
- Stir, Don’t Shake: Stir the stain thoroughly to ensure even consistency.
- Test in a Small Area: Before applying stain to the whole surface, test a small patch to confirm the color.
- Use a Brush or Roller: For even coverage, apply the stain with a paintbrush or roller. Work in sections, moving with the grain of the wood.
- Wipe Excess Stain: If the stain pools or looks overly saturated, gently wipe away the excess with a clean cloth.
Step 4: Allow the Stain to Dry
Follow the manufacturer’s drying recommendations, typically 24-48 hours before exposing the wood to moisture.
Step 5: Apply a Second Coat (Optional)
If you want deeper color or extra protection, add a second coat once the first layer has dried completely.
Step 6: Maintain Your Stain
Check the wood every year. Power wash and reapply stain as necessary to keep the wood looking fresh and protected.
❌ Common Mistakes to Avoid
When staining pressure-treated wood, even small missteps can lead to disappointing results. Watch out for these common errors:
- Rushing the Drying Process: If the wood isn’t dry enough, the stain won’t adhere properly.
- Skipping the Cleaning Step: Dirt and mildew can interfere with stain absorption, so don’t skip cleaning.
- Overapplying Stain: Adding too much product can cause it to peel or blister over time.
- Not Checking the Weather: Staining on rainy or extremely humid days can hamper drying and curing.
Why Choose Voyager Exteriors?
At Voyager Exteriors, we’ve seen what a difference proper maintenance makes for outdoor wood structures. Our team understands the nuances of working with pressure-treated wood, from prep to finish, ensuring top-tier results every time. Whether you need professional staining or want expert advice for your decking and exterior projects, we’re here for you.
For a durable, beautiful finish that lasts, trust the skilled professionals at Voyager Exteriors. Contact us today, and together we’ll enhance your exterior spaces with care and craftsmanship.