When it comes to enhancing your home’s durability, energy efficiency, and curb appeal, fiber cement siding is a game-changer. This resilient, low-maintenance siding material is a favorite among homeowners due to its long lifespan and ability to withstand extreme weather conditions. Whether you’re upgrading your home’s exterior or preparing for a new build, this guide will walk you through fiber cement siding installation and highlight why it’s a top choice for your home improvement needs. Here’s what you’ll learn in this guide:
- Why choose fiber cement siding?
- Complete step-by-step installation process
- Common mistakes to avoid
🤔 Why Choose Fiber Cement Siding?
Fiber cement siding is celebrated for its exceptional durability, making it a top choice for homeowners seeking a reliable and long-lasting exterior. Unlike other materials, it is highly resistant to rot, termites, and severe weather, ensuring it can withstand the test of time for decades. This durability means fewer repairs and replacements, saving homeowners significant time and money in the long run.
Another major advantage of fiber cement siding is its low maintenance. Unlike wood siding, it doesn’t require frequent painting, sealing, or costly upkeep. A simple occasional cleaning is all it takes to keep it looking fresh and polished. Additionally, its non-combustible nature adds a layer of safety, offering families peace of mind knowing their home is protected from fire hazards.
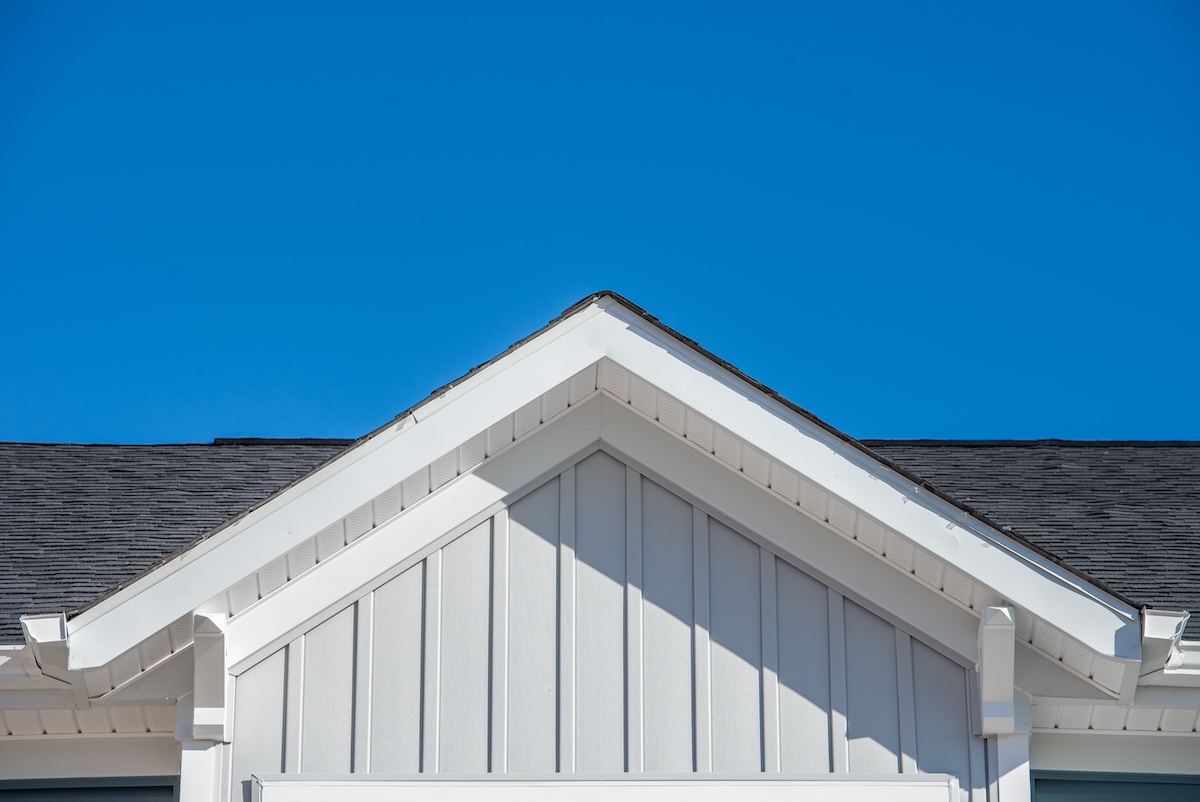
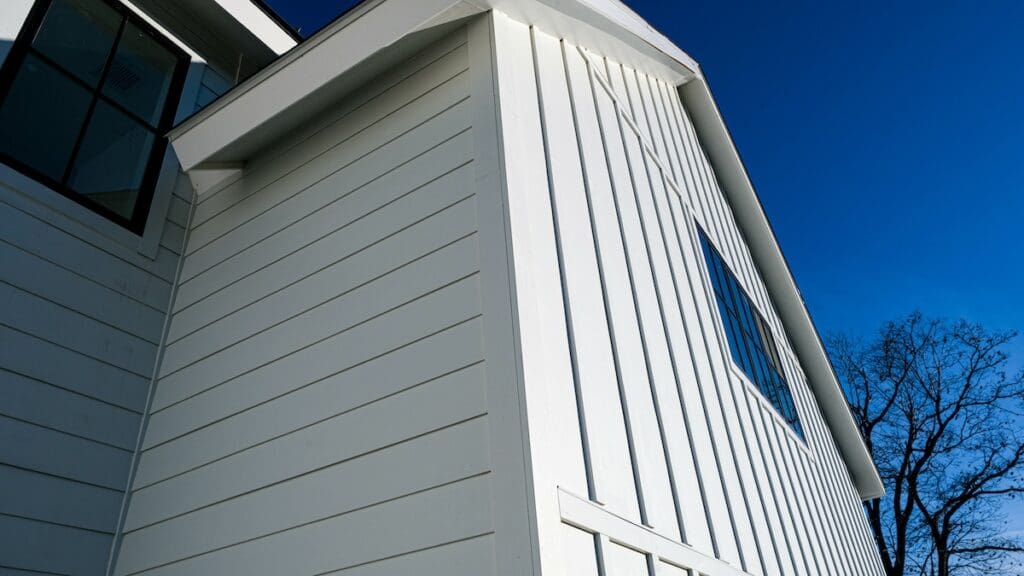
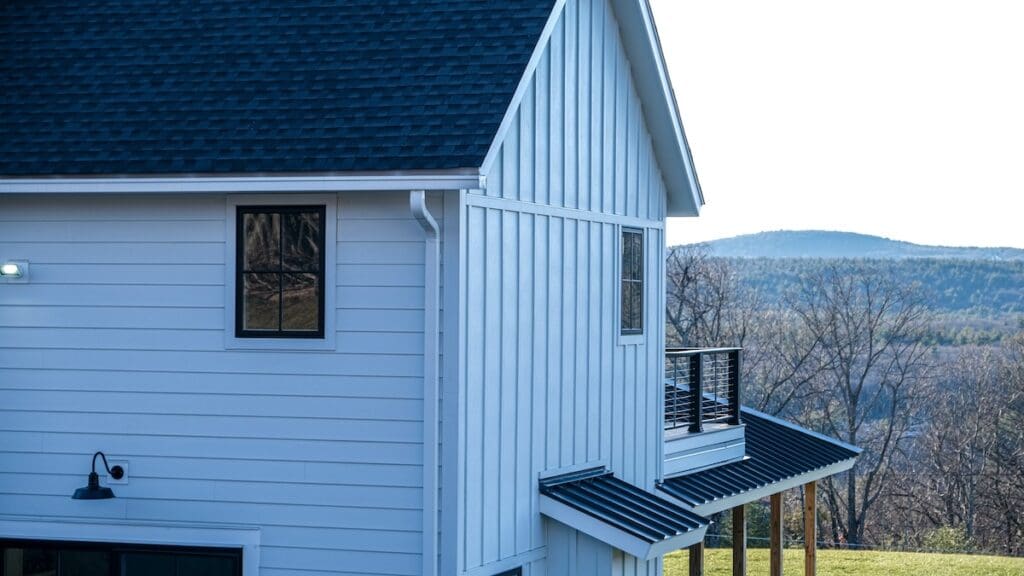
Fiber cement siding also excels in its aesthetic versatility. It can mimic the natural look of wood or stucco while eliminating the drawbacks like warping or cracking. With a wide array of colors and finishes to choose from, homeowners can easily customize their home’s appearance to match their style. Plus, its energy-efficient design provides insulation, helping to reduce energy bills by maintaining a comfortable indoor climate year-round.
Tools and Materials You’ll Need
- Fiber cement siding boards
- Safety gear (gloves, goggles, dust mask)
- Circular saw with a fiber cement blade or scoring tool
- Measuring tape
- Level
- Chalk line
- Nail gun or hammer
- Galvanized nails or siding screws
- Caulk and caulking gun
- Paint to match siding color (if required)
- Flashing and weather-resistant barrier
✅ 6 Steps to Installing Fiber Cement Siding
Follow these six steps to successfully install your fiber cement siding:
1. Measure and Cut Siding
Start by carefully measuring each board to ensure it fits perfectly in the area it’s covering. Accurate measurements are key to achieving a professional and polished look. Once measured, use a circular saw equipped with a fiber cement blade to make clean and precise cuts. It’s important to perform the cutting process on a stable, firm surface placed outdoors to reduce exposure to dust. Taking these steps will help ensure that the siding fits properly and that the installation process proceeds smoothly.
2. Install Starter Strips
Begin the installation process by nailing a starter strip at the very bottom of the wall. The starter strip serves as a base, creating an even foundation for the first row of siding. Take extra care to ensure the strip is level, as this will affect the alignment of the entire siding installation. Additionally, the starter strip should slightly overlap the wall sheathing to provide better coverage and stability. Properly installing the starter strip is crucial for a seamless and sturdy siding installation.

3. Begin with the First Row
Once the starter strip is securely in place, position the first siding board directly over it. Leave a small gap of about 1/8 inch between the boards to allow for natural expansion and contraction due to temperature changes. Secure the siding board by nailing it directly into the wall studs. Ensure the nails sit flush with the surface of the siding but avoid driving them too deeply, as overdriven nails can damage the material. This first row sets the tone for the rest of the installation, so precision is essential.
4. Work Your Way Up
With the first row in place, continue installing additional rows of siding, moving upward along the wall. Each new row should overlap the previous one by at least 1 1/4 inches to ensure proper water shedding and durability. Use a level frequently to check for alignment and make adjustments as needed to maintain straight, even rows. Taking the time to ensure precision during this step will result in a clean and professional finish for your siding.
5. Add Flashing and Trim
Once the siding is installed, focus on protecting vulnerable areas such as windows, doors, and other openings. Install flashing around these elements to direct water away from the siding and prevent moisture damage. Flashing is a critical step in ensuring your siding remains durable and weather-resistant. After the flashing is in place, apply trim boards around the edges of the siding and openings. The trim not only enhances the overall appearance but also seals the edges for added protection and a polished, finished look.
6. Seal and Paint
To complete the project, seal all joints and gaps with high-quality exterior caulk. This step prevents water infiltration and protects your siding from potential issues like rot or mold. After sealing, apply paint to the siding if it is not already pre-painted. Choose a paint color that complements your home’s exterior, and use weather-resistant paint for lasting results. Proper sealing and painting not only add to the aesthetic appeal but also extend the lifespan of your siding by providing additional protection against the elements.
👉 Common Mistakes to Avoid
Avoiding common mistakes is crucial to save time, effort, and resources. Learning what to avoid helps you achieve better results and prevent unnecessary setbacks.
Improper Cutting
Using the wrong tools or techniques can result in chipped or uneven edges, compromising the appearance and functionality of the material. Always ensure you are using the proper cutting tools and methods to achieve clean, precise cuts that maintain the integrity of the board. Taking the time to cut correctly will save you from costly mistakes down the line.
Overdriven Nails
Driving nails too far into the board can weaken its structure and reduce its lifespan. Overdriven nails may cause splitting or cracking, leaving the material vulnerable to further damage. To avoid this, use a nail gun with adjustable pressure or carefully hammer nails to the correct depth, ensuring the board remains secure without over-penetration.
Skimping on Caulking
Failing to properly seal gaps with caulking can lead to water infiltration, which may cause rot or mold over time. Always apply an adequate amount of high-quality caulk to seal joints, edges, and any potential entry points for moisture. This step is crucial for protecting the material and maintaining its durability.
Skipping Flashing
Flashing is essential for directing water away from vulnerable areas, such as windows, doors, and rooflines. Poor flashing installation—or skipping it altogether—can lead to water infiltration, causing significant long-term damage. Ensure flashing is installed correctly and securely to protect your structure from water-related issues.
🏠 Fiber Cement Siding
When it comes to fiber cement siding installation, Voyager Exteriors is the team you can trust to deliver exceptional results. From our unmatched expertise and premium materials to our commitment to personalized service and customer satisfaction, we go above and beyond to bring your vision to life.
Let us transform your home with siding that’s not only durable but also beautifully tailored to your style. Ready to get started? Contact Voyager Exteriors today for a free estimate and take the first step toward your dream home!