If you’ve accidentally gotten paint on your vinyl siding or need to deal with an overzealous paint project, don’t panic—there are straightforward ways to clean up the mess. Vinyl siding is both durable and relatively easy to maintain, but improper cleaning can cause damage. This guide will show you how to remove paint from vinyl siding while keeping it intact. Here’s what we’ll cover:
- Why care for your vinyl siding properly?
- The 6 steps to remove paint from vinyl siding
- Effective preventative measures for your home
🤔 Why Proper Care For Vinyl Siding Matters
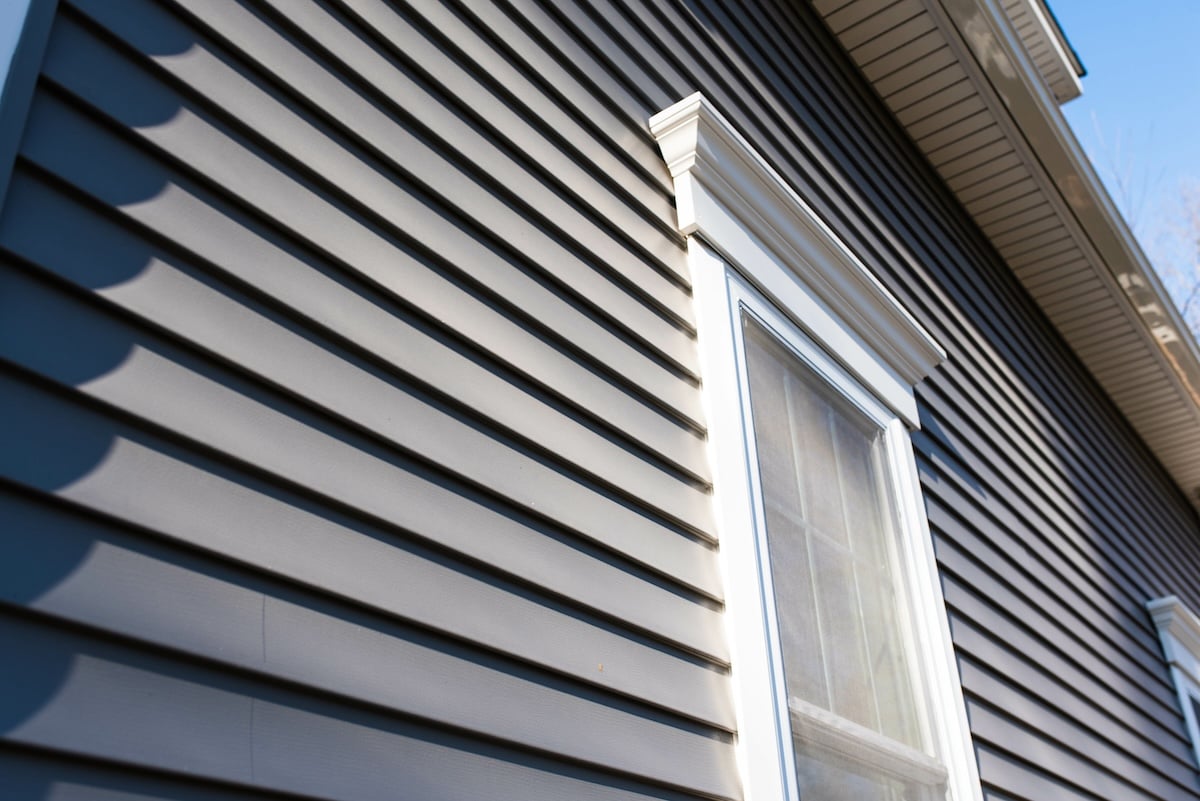
Vinyl siding is about more than just good looks; it’s a critical layer of protection for your home, shielding it from harsh weather conditions like rain, snow, wind, and UV rays. Properly maintained, vinyl siding can last for decades, preserving both the appearance and structural integrity of your home. However, neglecting routine care can lead to avoidable damage and costly repairs.
For instance, leaving paint splatters, dirt, or other debris on your vinyl siding doesn’t just look unsightly—it can weaken the material over time. Paint or debris buildup can trap moisture, leading to discoloration, warping, peeling, or even mold growth. Over time, these issues can compromise the siding’s durability, leaving it vulnerable to further damage and reducing your home’s curb appeal.
Regular cleaning and maintenance go a long way in ensuring your siding stays in excellent condition. Simple actions like power washing dirt and grime, removing paint stains promptly, and inspecting for damage after severe weather can help prolong its life. In addition to keeping your siding clean, it’s also essential to address hazards like overgrown vegetation or pests, which can both contribute to long-term wear and tear.
Tools You’ll Need
Before you begin, gather the following tools and materials to ensure a safe and effective paint removal process:
- Rubber gloves
- Safety goggles
- Clean, soft cloths or microfiber towels
- Dish soap or an all-purpose cleaner
- Plastic scraper
- A sponge or soft scrub brush
- Isopropyl alcohol or a commercial vinyl siding cleaner
- Pressure washer (optional)
- Garden hose
- Paint thinner or remover (for tough, dried stains)
✅ 6 Steps To Remove Paint From Vinyl Siding

When it comes to how to remove paint from vinyl siding, following the right process is critical to avoid unnecessary damage. Use these 6 simple steps to handle the task efficiently:
1. Act Quickly If the Paint is Fresh
If the paint is still wet, time is of the essence. Grab a clean, soft cloth and gently blot the area to absorb as much paint as possible. Avoid rubbing the paint, as this can smear it and make the stain worse. To help lift the paint, mix a small amount of dish soap with warm water and dab the solution onto the affected area. This method is gentle and safe for vinyl siding, so you don’t have to worry about causing damage while cleaning.

2. Rinse with Water
Once you’ve blotted as much paint as possible, use a garden hose to rinse the area thoroughly. Spray gently to remove loose paint particles. For paint that’s not coming off easily, grab a soft scrub brush and dip it into warm, soapy water. Use light, circular motions to loosen the stubborn spots. If you have access to a pressure washer, set it to a low-pressure setting and carefully spray the paint stain. Be cautious with the pressure, as high settings can damage your vinyl siding.
3. Use Isopropyl Alcohol for Dried Paint
If the paint has dried, don’t worry—there’s still a solution. Dampen a clean cloth with isopropyl alcohol and gently rub the paint stain. The alcohol helps break down and dissolve the paint without causing harm to the vinyl surface. Before applying it to the entire stain, test the alcohol on a small, hidden section of the siding to ensure it won’t cause any discoloration or damage. Once you’re confident it’s safe, continue working on the dried paint until it begins to lift.
4. Scrape Off Excess Paint
For thick or caked-on paint, a plastic scraper can be a lifesaver. Carefully use the scraper to lift off any hardened paint without scratching or damaging the siding. Avoid using metal scrapers, as these can leave permanent marks or gouges. Work slowly and gently, focusing on removing just the paint without pressing too hard on the vinyl. This step is especially helpful for older paint stains that have built up in layers.
5. Tackle Stubborn Stains with Paint Remover
If traces of paint still remain, it’s time to bring in the big guns: a vinyl siding paint remover or non-acetone nail polish remover. Apply a small amount of the remover to a clean cloth and test it on a hidden part of the siding to ensure it won’t cause discoloration. Once you’ve confirmed it’s safe, gently rub the remover onto the paint stain until it starts to lift. Take your time during this step, as improper use of paint removers could affect the appearance of your siding.
6. Wash and Rinse
After all traces of paint have been removed, it’s important to clean the area thoroughly to get rid of any residue left behind by the cleaning agents. Mix soapy water and wash the area with a soft cloth or sponge. Then, rinse with a garden hose to remove all soap and chemicals. Finish by drying the area with a microfiber towel to prevent water spots and streaks. This final step ensures your siding looks clean and polished, with no lingering stains or residue.
🛠️ Preventative Measures to Keep Your Siding Safe
While knowing how to remove paint from vinyl siding is crucial, prevention is always the best approach. Here’s how you can protect your siding from future paint stains:
Cover Siding During Renovations
Whenever you’re painting or working near your vinyl siding, it’s crucial to protect it from accidental damage or stains. Use plastic sheeting or drop cloths to cover the siding thoroughly. This simple step can prevent paint splatters, scratches, or any other mishaps that may occur during renovations. Taking a few minutes to cover your siding can save you from spending hours on cleanup or repairs later.
Clean Up Spills Immediately
When paint spills happen, speed is your best friend. Wet paint is far easier to clean than dried paint, which can be stubborn and may leave stains. Keep soft cloths and a bucket of soapy water handy while working on painting projects so you can address spills right away. Immediate cleaning not only protects your siding but also ensures your finish looks professional and clean.
Maintain Your Vinyl Regularly
Regular maintenance is key to keeping your vinyl siding in top condition. Periodically wash it down with water and a mild detergent to remove dirt, grime, or debris that can build up over time. This prevents long-term damage, such as discoloration or erosion, and keeps your siding looking fresh and clean. Consistent upkeep will help extend the lifespan of your siding and maintain your home’s curb appeal.
By following these preventative steps, you can protect your vinyl siding and avoid unnecessary repairs or headaches in the future. A little extra care now goes a long way!
🏠 Remove Paint From Vinyl Siding
Removing paint from vinyl siding can be a tricky task, but with the right approach and tools, it’s manageable. However, if you’re facing stubborn stains or damage, the team at Voyager Exteriors is here to help. With years of experience, unmatched expertise, and a commitment to exceptional customer satisfaction, we’re the trusted choice for all your siding needs in the Twin Cities.
Whether it’s repair, replacement, or ongoing maintenance, our comprehensive services have you covered. Contact Voyager Exteriors today for a consultation and let us help keep your home looking its best!