Building a ground-level deck can be one of the most rewarding home improvement projects you undertake. It not only enhances your outdoor living space but also adds value to your property. A well-designed ground-level deck offers the perfect setting whether you’re envisioning:
- Family barbecues 🌭
- Lazy summer afternoons ⛱️
- A cozy evening with friends 🔥
This comprehensive guide will walk you through everything you need to know to build your own ground-level deck.
What is a Ground-Level Deck?
A ground-level deck, also known as a platform deck, is a deck that sits close to the ground. Unlike raised decks, ground-level decks are easier and more cost-effective to build. They don’t require the extensive structural support that elevated decks do, making them an excellent choice for homeowners looking to expand their outdoor living area without a complicated and costly construction process.
5 Benefits of a Ground-Level Deck
Before we get into the nitty-gritty of how to build a ground-level deck, let’s take a look at some of the benefits:
1. Cost-Effectiveness
Ground-level decks are generally more affordable than raised decks because they require fewer materials and less labor. There’s no need for complex framing or support structures, which can significantly cut down on costs.
2. Ease of Construction
Even if you’re a beginner DIY enthusiast, building a ground-level deck is a manageable project. The construction process is straightforward, and with the right tools and materials, you can have a beautiful deck in a relatively short amount of time.
3. Versatility
A ground-level deck can be customized to fit any space, regardless of size. Whether you have a small backyard or a sprawling garden, you can design a deck that meets your needs and complements your home’s architecture.

4. Low Maintenance
Because ground-level decks are closer to the earth, they often require less maintenance than elevated decks. You won’t have to worry about the same level of wear and tear from wind and weather, though you’ll still need to care for your deck to keep it looking its best.
5. Safety
A ground-level deck minimizes the risk of falls and injuries, making it a safer option for families with small children or elderly residents.
Planning Your Ground-Level Deck
Good planning is crucial before you start building. Here are some essential steps to ensure your project is a success:
📍 Determine the Location
Choose a location that is flat and free from obstacles like large rocks or tree roots. Consider how the deck will connect to your home and whether it will receive sufficient sunlight or shade based on your preferences.
🎨 Design and Layout
Sketch out your deck design on paper or use a digital design tool. Consider the shape, size, and style that will best suit your space. Don’t forget to account for features like built-in seating, planters, or even a pergola for added shade.
🪵 Materials
Selecting the right materials is key to the longevity and appearance of your deck. Common choices include:
- Pressure-Treated Lumber: Affordable and resistant to rot and insects.
- Composite Decking: Low-maintenance and durable, available in various colors and finishes.
- Cedar or Redwood: Naturally resistant to decay and insects, offering a beautiful, natural appearance.
📄 Permits and Regulations
Check with your local building authority to determine whether you need a permit to build your deck. Regulations vary by location, but it’s essential to ensure that your project complies with local building codes.
Building Your Ground-Level Deck
Now that you’ve planned your project, it’s time to get to work. Here’s a step-by-step guide to building your ground-level deck.
Gather Tools and Materials
Before you start, make sure you have all the necessary tools and materials:
- Measuring tape
- Level
- Shovel
- Posthole digger
- Circular saw
- Drill
- Hammer
- Nails and screws
- Decking material (lumber, composite, etc.)
- Gravel
- Concrete mix
- Joist hangers
- Deck fasteners
Prepare the Site
Clear the area of grass, rocks, and debris. Use a shovel to level the ground as much as possible. If necessary, you can dig out high spots and fill in low spots with dirt or sand.
Install Footings
Footings are essential for supporting the weight of your deck. Here’s how to install them:
- Mark the Locations: Use stakes and string to mark the perimeter of your deck. Mark the locations of the footings, typically spaced 6 to 8 feet apart.
- Dig Holes: Use a posthole digger to dig holes at each marked location. The holes should be at least 12 inches in diameter and extend below the frost line (usually 24 to 48 inches deep).
- Add Gravel: Pour a few inches of gravel into the bottom of each hole for drainage.
- Set Posts: Place a wooden post in each hole and fill with concrete mix. Use a level to ensure the posts are plumb (vertical) and allow the concrete to cure according to the manufacturer’s instructions.
Build the Frame
The frame provides the structural support for your deck. Follow these steps:
- Attach Ledger Board: If your deck will be attached to your house, start by attaching a ledger board to the house’s exterior wall. Use lag bolts to secure it to the wall studs, ensuring it’s level.
- Install Beams: Cut beams to the desired length and attach them to the posts using galvanized post anchors. Ensure they are level and securely fastened.
- Install Joists: Lay out joists perpendicular to the beams, spaced 16 inches apart. Secure them to the beams using joist hangers and nails or screws. Double-check that everything is level and square.
Lay the Decking
With the frame in place, it’s time to lay the decking boards:
- Cut Decking Boards: Cut the decking boards to the desired length, leaving a small gap (about 1/8 inch) between each board for drainage and expansion.
- Install Decking Boards: Starting at one end, lay the decking boards across the joists. Use deck screws or hidden fasteners to secure each board in place. Continue until the entire surface is covered.
- Trim Edges: Once all the decking boards are in place, trim any overhang to create a clean, finished edge.
Add Finishing Touches
Now that the main structure is complete, you can add finishing touches to enhance the functionality and appearance of your deck:
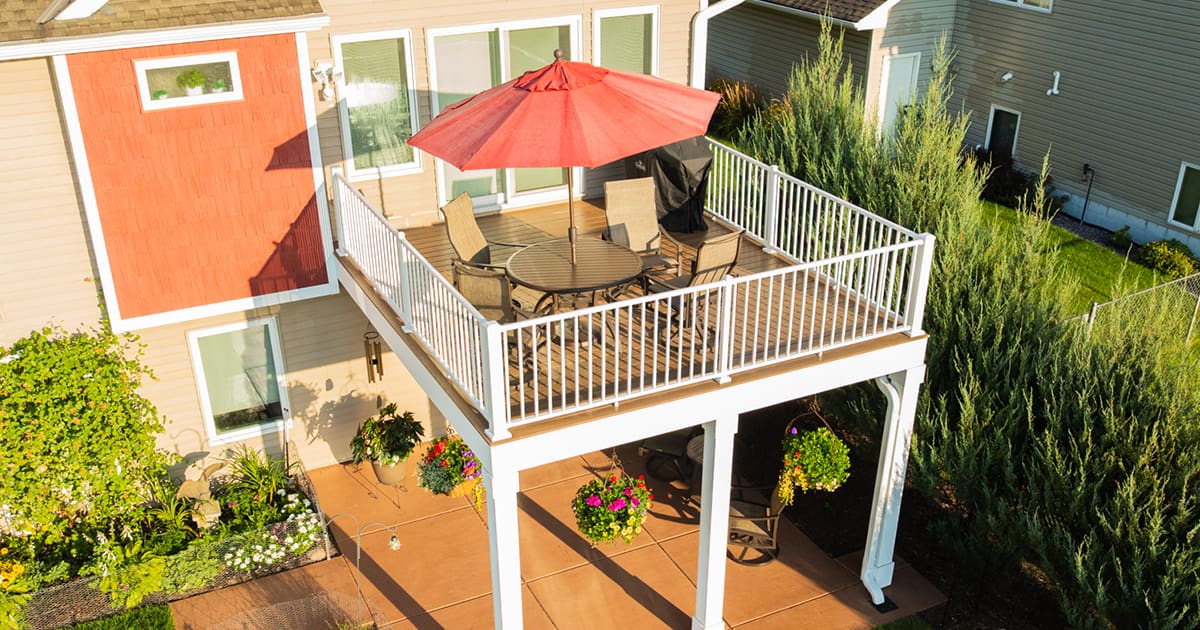
- Railings: If your deck is more than a few inches off the ground, consider adding railings for safety. Choose from a variety of materials, such as wood, metal, or glass, to match your deck’s style.
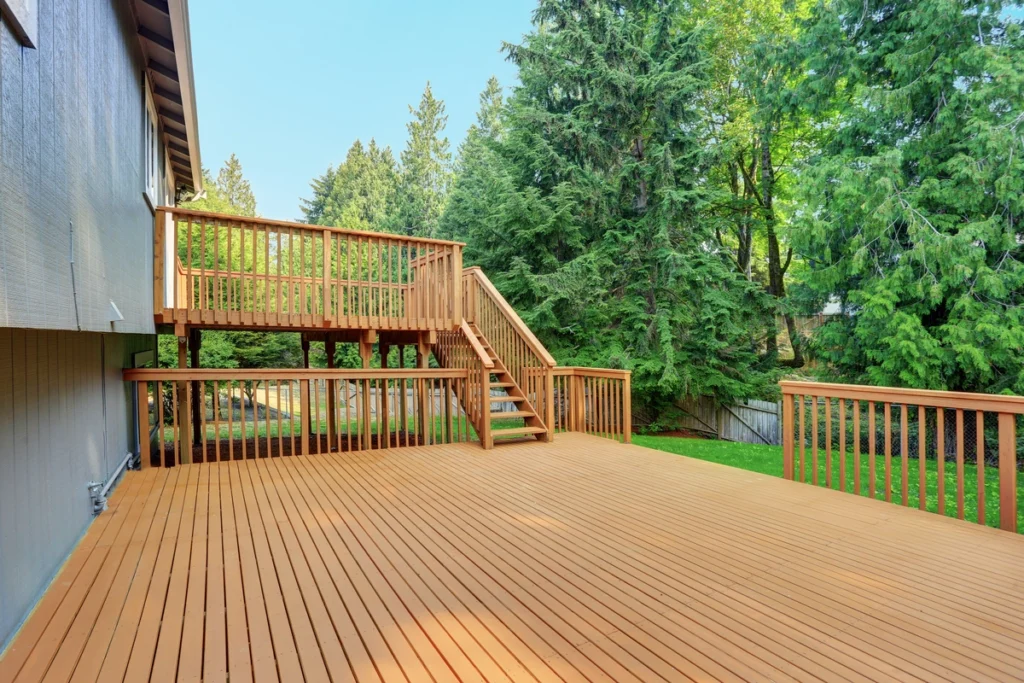
- Stairs: If your deck is elevated, you’ll need stairs for easy access. Build a set of stairs using stringers, treads, and risers, ensuring they are sturdy and safe.
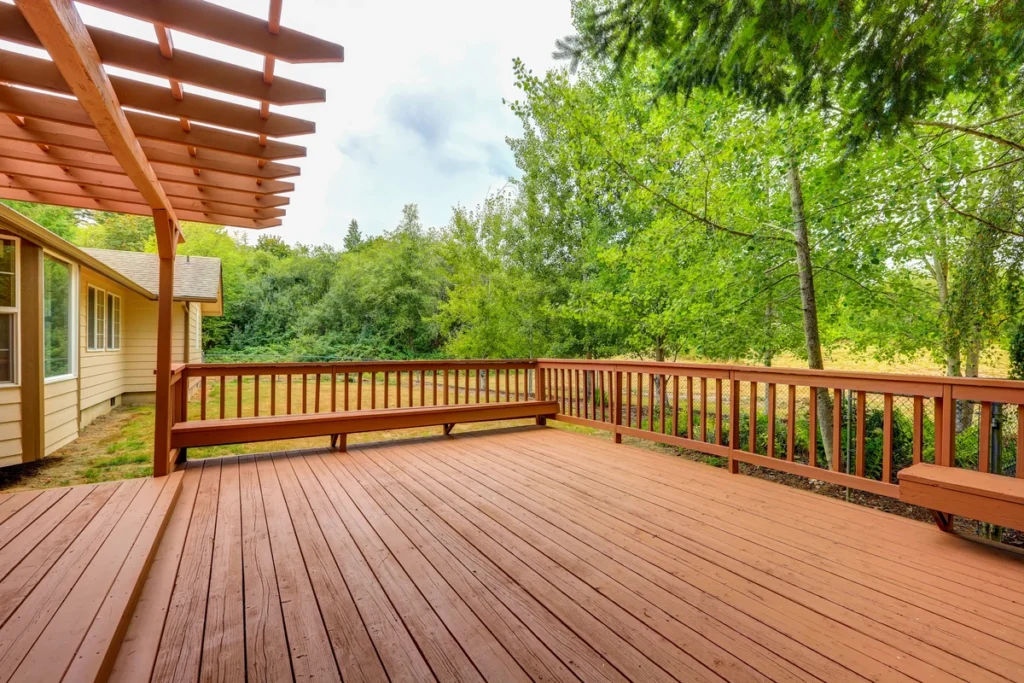
- Seating: Built-in benches or freestanding furniture can provide comfortable seating for your outdoor space. Consider adding cushions and pillows for extra comfort.
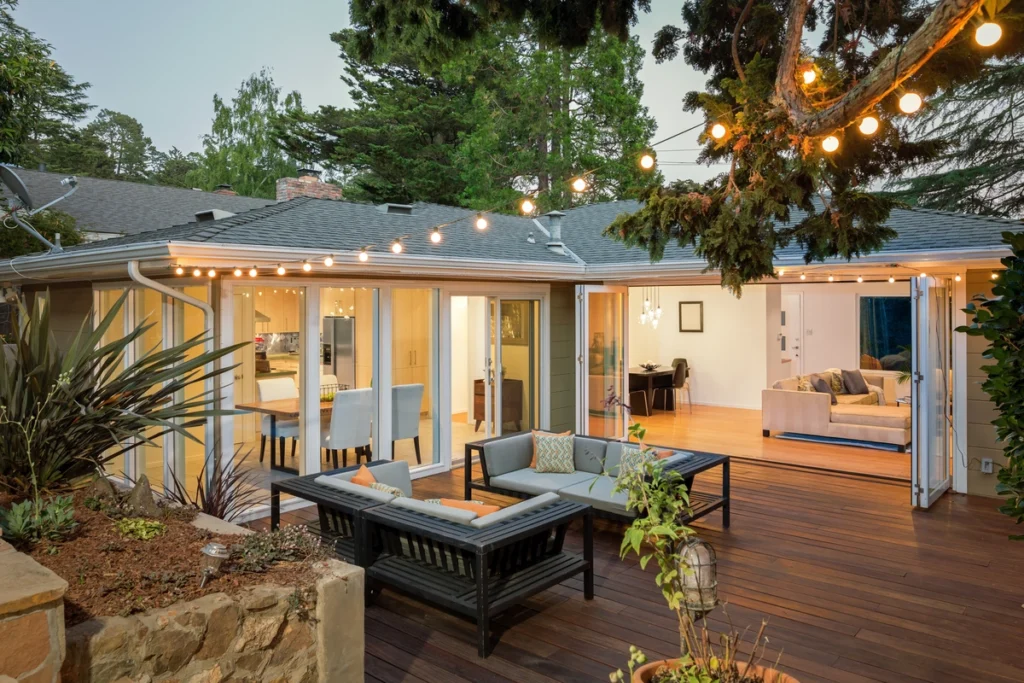
- Lighting: Outdoor lighting can extend the usability of your deck into the evening hours. Install solar lights, string lights, or post cap lights to create a warm and inviting atmosphere.
- Planters: Incorporate planters or flower boxes to add greenery and beauty to your deck. Choose plants that thrive in your climate and complement your outdoor décor.
Maintenance Tips for Your Ground-Level Deck
To keep your ground-level deck looking great and functioning well for years to come, follow these maintenance tips:
- Regular Cleaning: Sweep your deck regularly to remove dirt, leaves, and debris. Use a mild detergent and a soft-bristle brush to clean the surface, and rinse thoroughly with water.
- Inspect for Damage: Periodically inspect your deck for signs of damage, such as loose boards, nails, or screws. Replace any damaged components promptly to prevent further issues.
- Apply Sealant or Stain: Depending on the material of your deck, you may need to apply a sealant or stain to protect it from the elements. Follow the manufacturer’s recommendations for the best results.
- Address Moisture Issues: Ensure proper drainage around your deck to prevent water from pooling and causing rot or decay. If you notice any areas where water collects, address the issue by improving drainage or adding gravel.
Professional Deck Design
Building a ground-level deck is a fantastic way to enhance your outdoor living space and increase the value of your home. With careful planning, the right materials, and a bit of DIY know-how, you can create a beautiful and functional deck that will provide years of enjoyment.Ready to get started? Gather your tools, roll up your sleeves, and take the first step toward creating the outdoor oasis you’ve always dreamed of. And if you need any help along the way, don’t hesitate to reach out to the professionals at Voyager.